Popular search
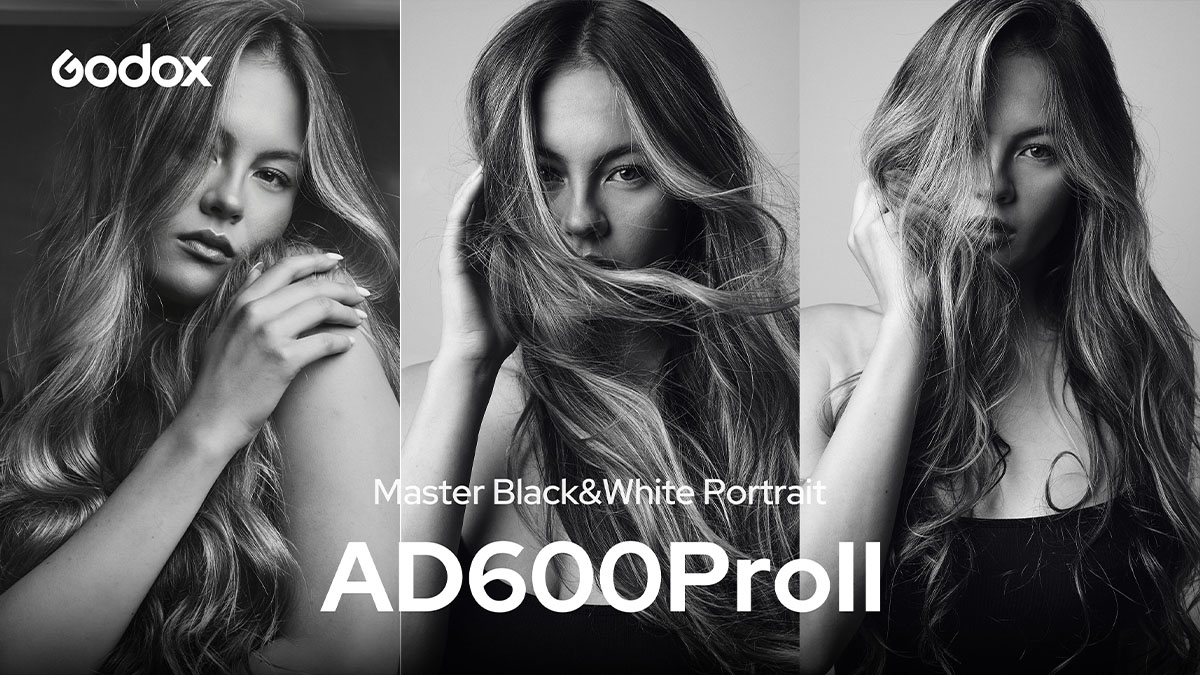
In this tutorial, Canadian photographer and educator Nathan Elson shows how to create black-and-white editorial portraits with the Godox AD600ProII. The lighting starts with one large soft key, then adds fill and a harder accent for more depth.
Black and white portraits depend on tone, contrast, and shadow. Without color, every light placement becomes easier to see, so each light needs a clear purpose.
Equipment
• Lights: Godox AD600ProII
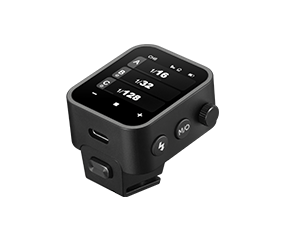
• Trigger: Godox X3
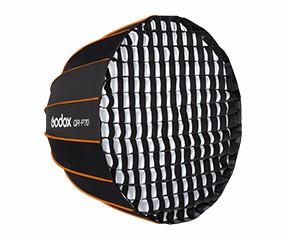
• Light Shapers: Godox QR-P120 Softbox, large umbrella, and optical snoot
• Camera Settings Shown: f/8, 1/200 s, ISO 200 for the first setup

Look 1: One Light with a Large Octabox
1. Situation: The first setup uses one AD600ProII with a large octabox for a clean black-and-white editorial look.
2. Challenge: If the light is too direct, the portrait can look flat. If the background is too bright, the mood becomes less controlled.
3. Solution: Feather the octabox across the subject instead of pointing it straight at the face. This gives a smooth change from highlight to shadow and lets the white wall fall to a natural grey.
Quick Tip: Move the subject and light farther from the wall to make the background darker. Move them closer to make it lighter.

Look 2: Add Fill to Bring Back Detail
1. Situation: With one strong key light, dark clothing can lose detail.
2. Challenge: The fill needs to open the shadows without removing the direction of the key light.
3. Solution: Add another AD600ProII with a large umbrella as a fill. Keep it soft and controlled so the clothing texture comes back while the portrait still keeps shape.
Quick Tip: Fill light should support the image, not flatten it. Add only as much as the shadows need.

Look 3: Add an Optical Snoot for a Hard Accent
1. Situation: The final setup needs a stronger editorial mood and more depth in the frame.
2. Challenge: A soft key and fill can look clean, but the image may still need a sharper point of interest.
3. Solution: Add an optical snoot from roughly the same direction as the key light. The snoot creates a smaller, harder pool of light, adding sharper shadow detail and more depth to the background.
Quick Tip: A hard accent works best when it has a clear purpose. Use it to guide the eye or add texture, not just to make the setup look more complex.
This tutorial shows how one AD600 Pro II setup can grow into a stronger editorial portrait by adding one light at a time. Start with shape, add detail, and finish with a controlled accent.

Gears Used
• Godox AD600ProII
• Godox X3 Trigger
• Godox QR-P120 Softbox
• Large umbrella
• Optical snoot