Popular search
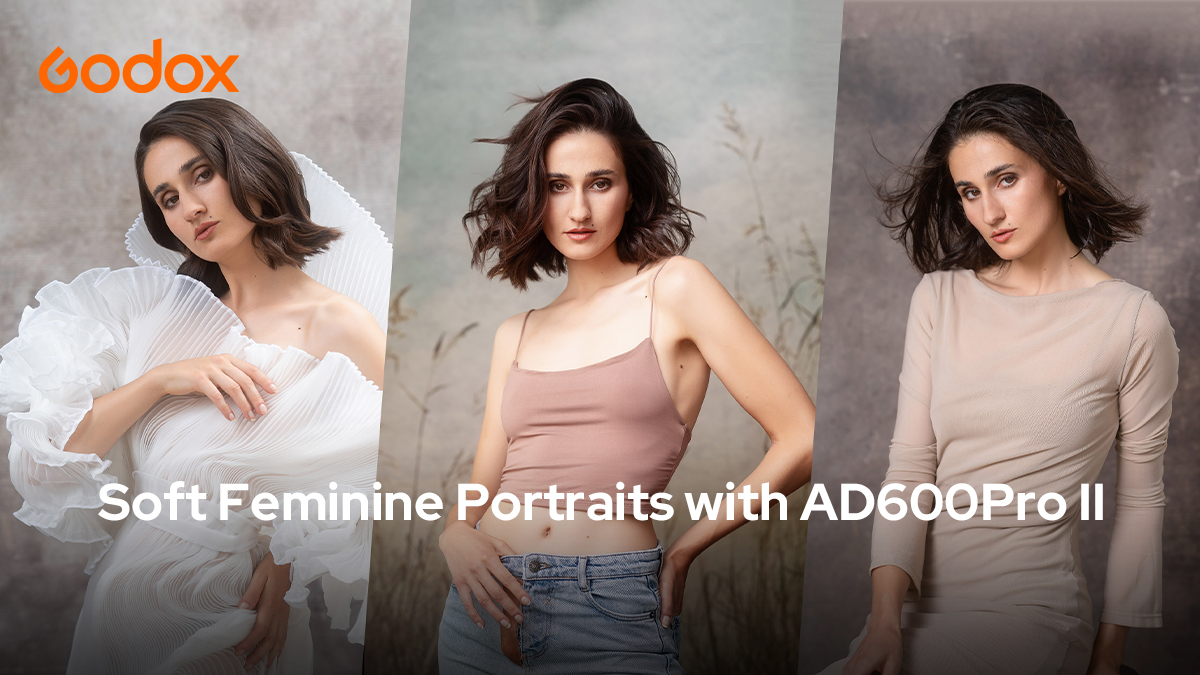
Welcome to the Godox Photography Lighting Academy.
I’m Sarah Edmunds, and in this episode, we are shooting soft, feminine portraits with the AD600Pro II, along with one of my trusted AD200Pros for some additional light when needed. Don’t forget to like and subscribe, and as always, watch to the end for an incredible product giveaway.
Our project for today is to create beautifully soft, feminine portraits with my friend and model, Catherine. I have my hands on the brand new AD600Pro II, an incredible piece of lighting kit designed to work perfectly with the X3 touchscreen wireless trigger. It has some impressive new features that I cannot wait to try out, including one-touch syncing between trigger and lights and color coding for different groups, so you can see at a glance which light is set to which group. This is going to make wireless shooting in and outside the studio easier than ever.
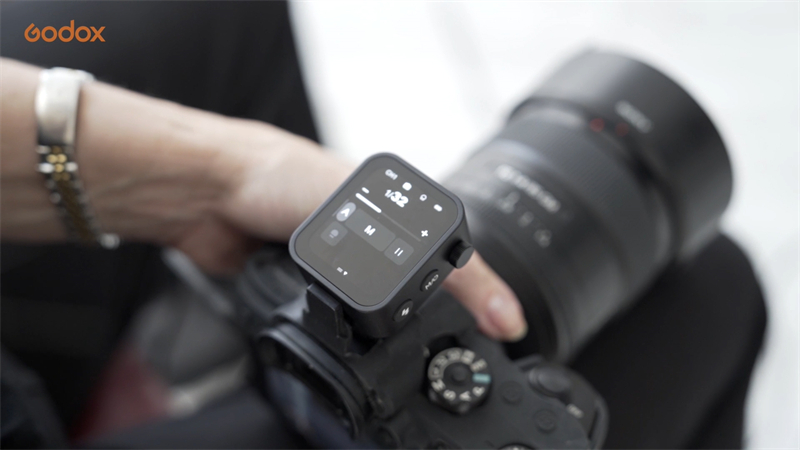
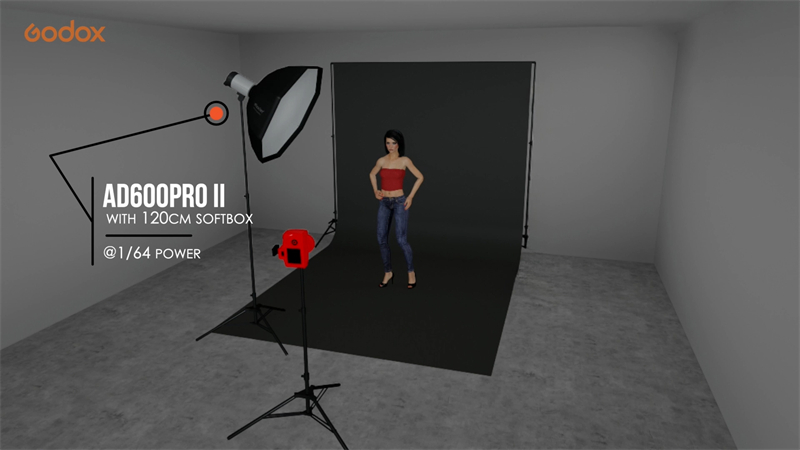
I’m going to keep things simple to start with, using just one AD600Pro II in a 120cm softbox, camera left, and feathered across our subject. This provides a beautifully soft wraparound light.
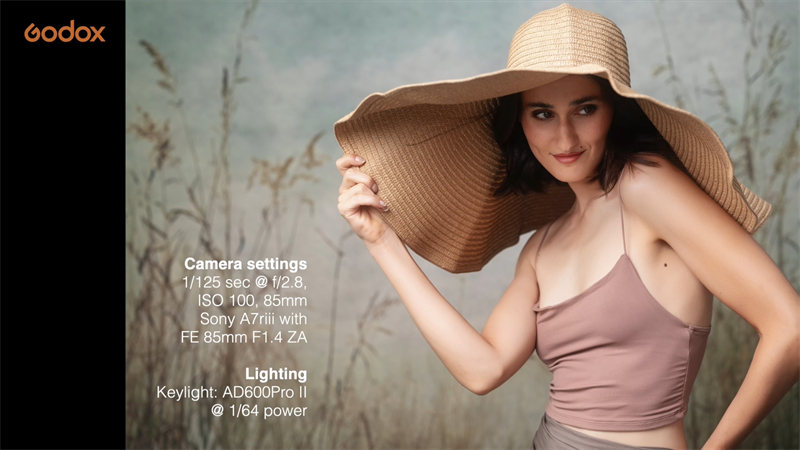
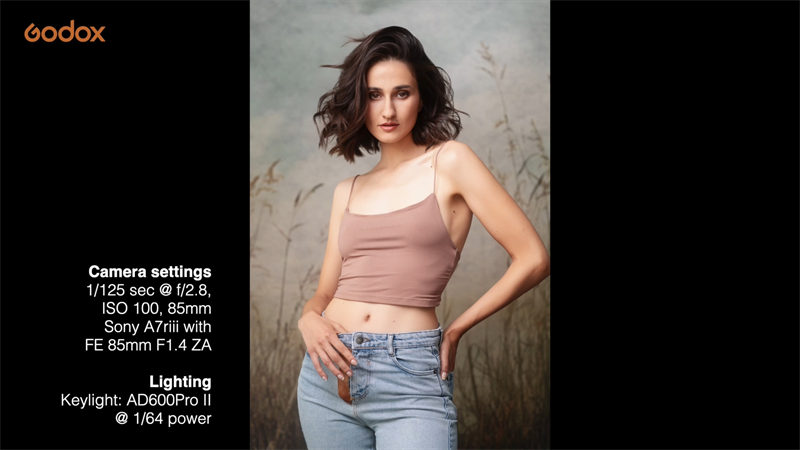
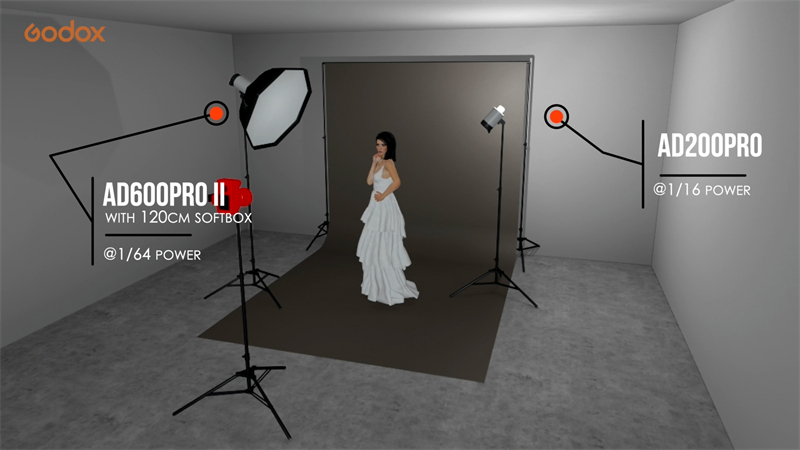
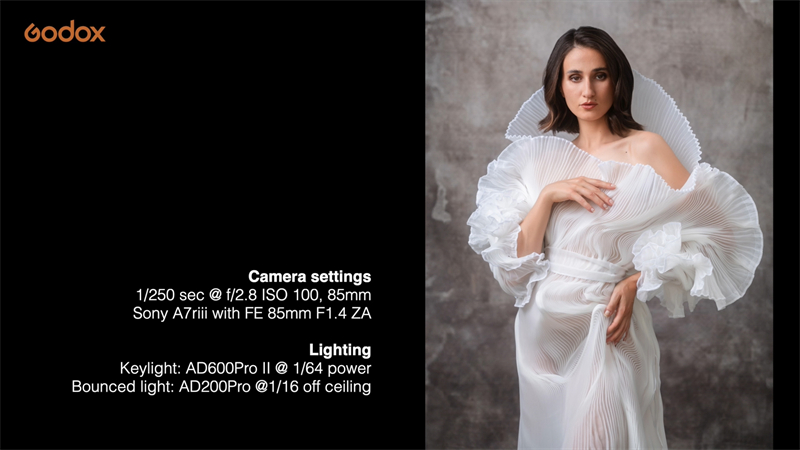
I decide I need a sunnier, brighter feeling, so I point an AD200Pro at the white wall and ceiling so the reflected light will bounce back onto Catherine’s hair and down her arms. I can easily turn this additional light on and adjust settings using the X3 touchscreen on the hotshoe of my camera. The soft bounced light fits with the country vibe I’ve got with the backdrop and adds that sunny feel I’m looking for, without needing to use an additional modifier.
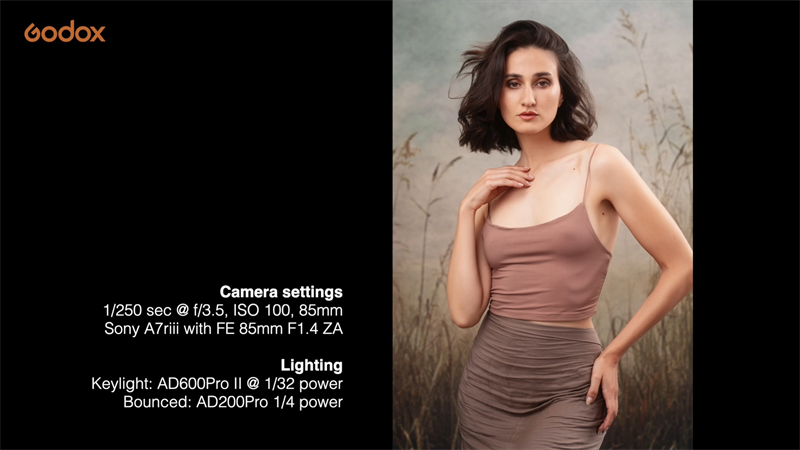
For the next outfit, I lower the power of the bounced light, leaving just enough to illuminate her hair almost imperceptibly. I also open the aperture to f/2.8. The combined settings of 1/125th second shutter speed and wide aperture also let in some ambient light from my windows for even softer shadows.
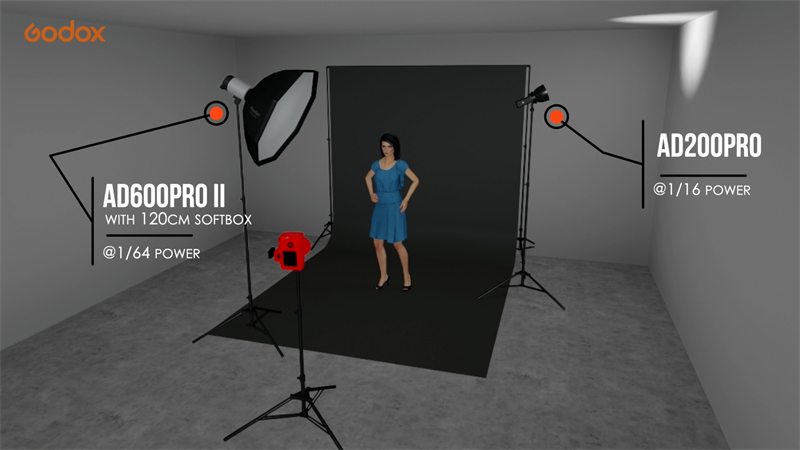
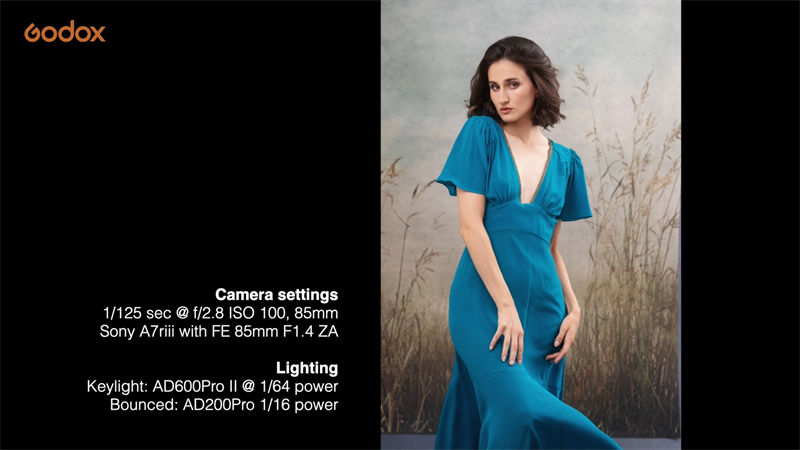
I think this is my new favorite quick and simple setup for portraits that mimic soft, natural light. If I want deeper shadows, I can increase my shutter speed to the maximum sync of 1/250th and reduce the fill.
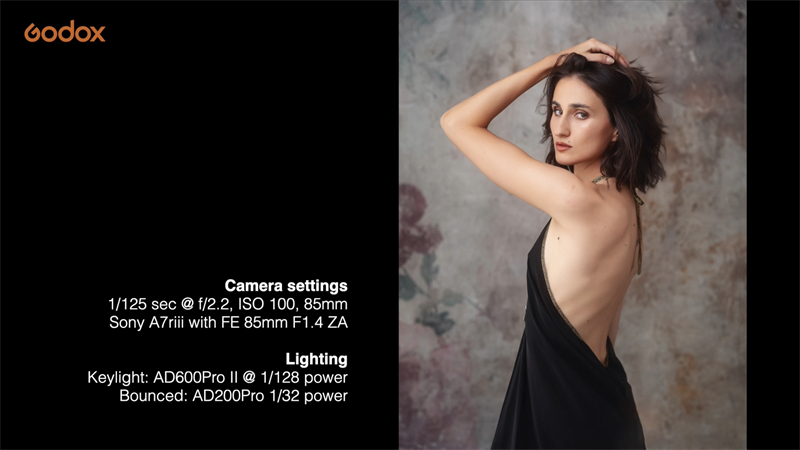
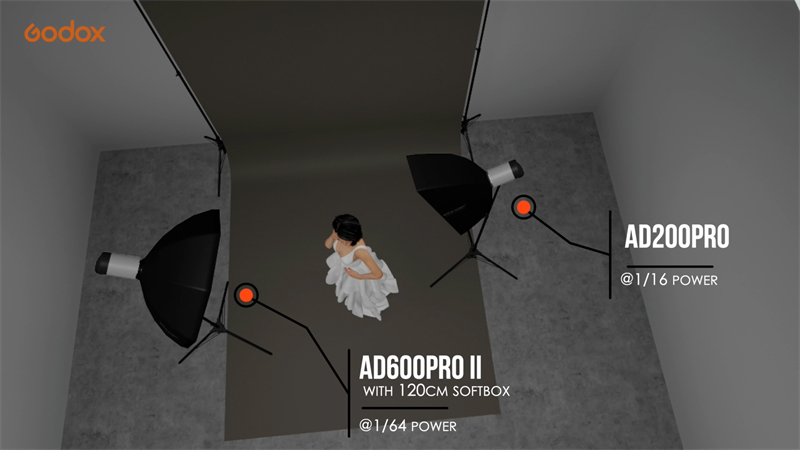
Now, I have something in mind for this outfit: adding a digital background. So, I need to adjust the lighting to match the environment I’m envisioning. I move the AD600Pro II and softbox to the side and behind the subject.
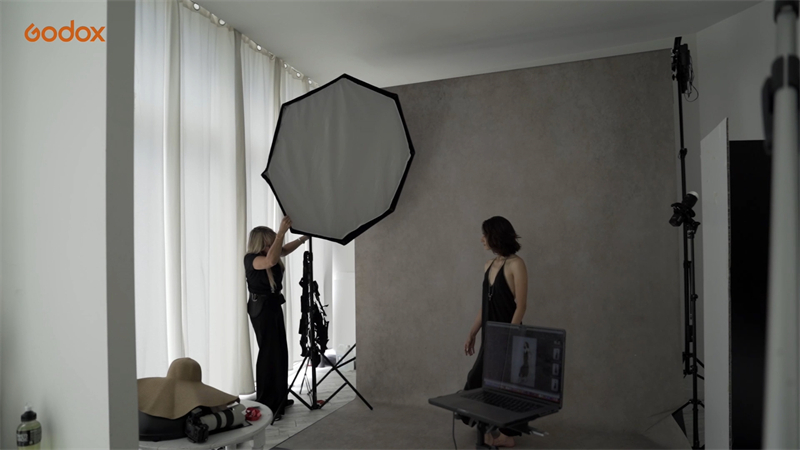
The front light is now an AD200Pro simply pointing at a white V-flat and bouncing back onto Catherine, at a lower power than the rear light. Getting the lighting right is essential to making the final result believable.
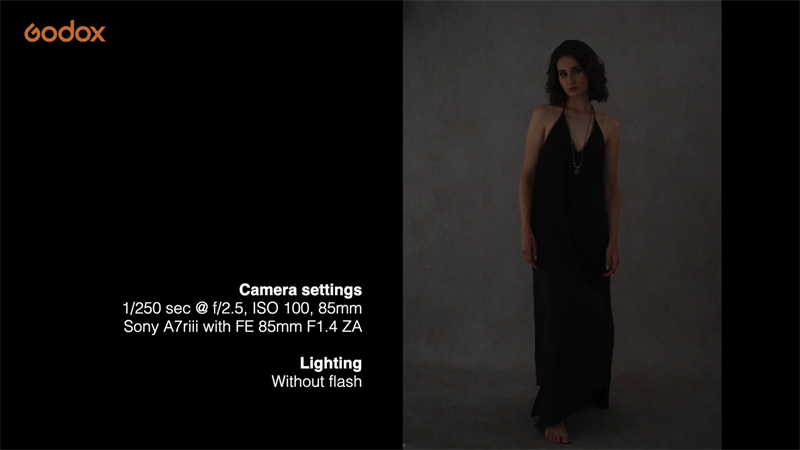
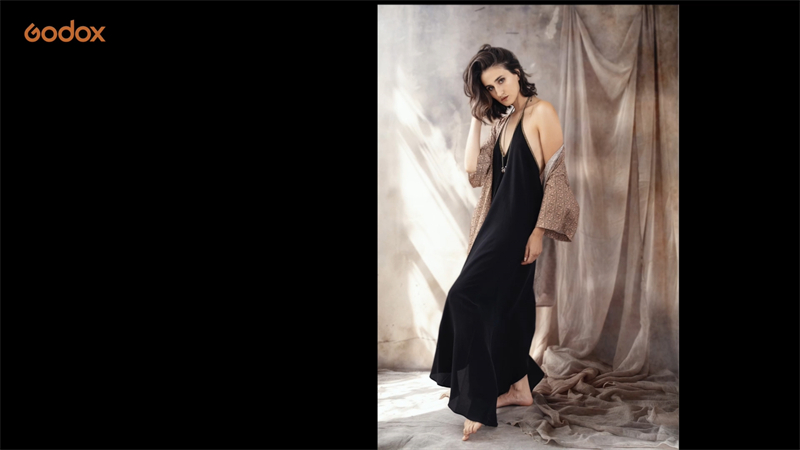
For our next look, I pull the softbox further back to ensure there is enough spread to allow full-length portraits, and with just one light, I start at f/2.8.
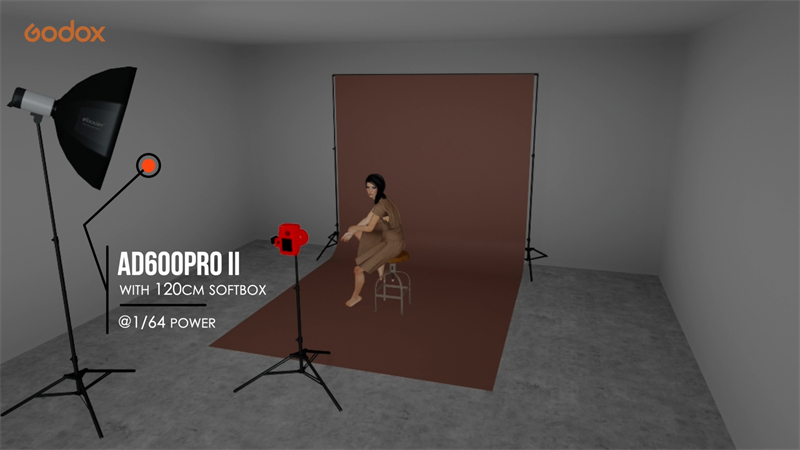
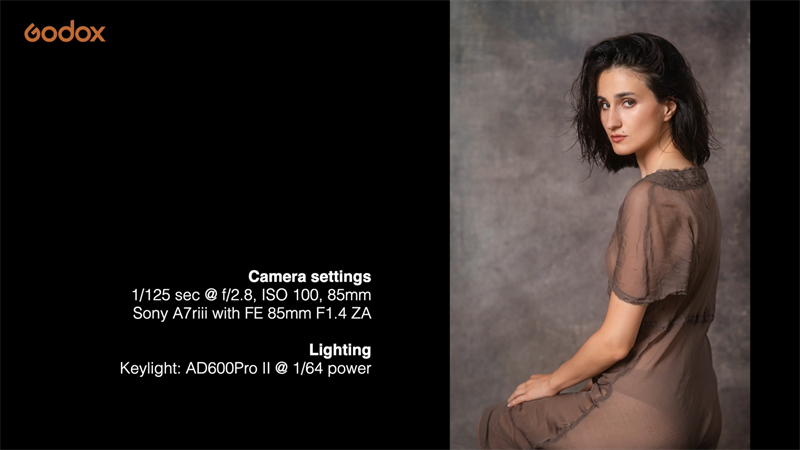
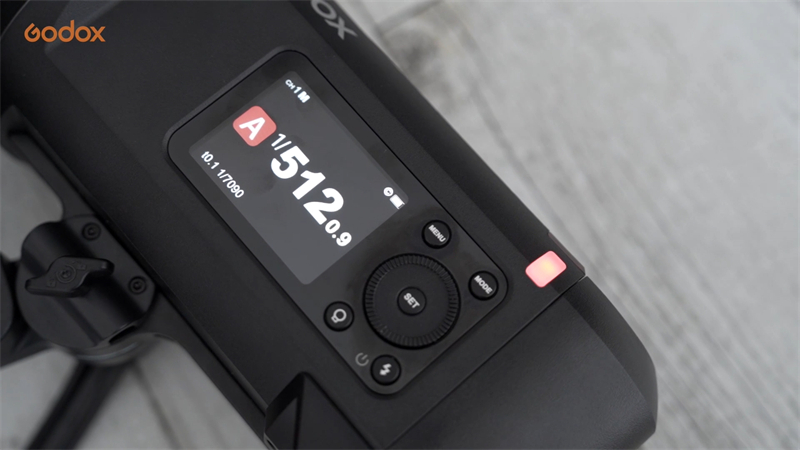
But I want the focus of these portraits to melt away from the eyes at f/1.4 while still having the control to shape the light on the face. I reduce the power of the strobe down to 1/256th of a second. The new AD600Pro II goes down to even lower power, all the way to 1/512th second.
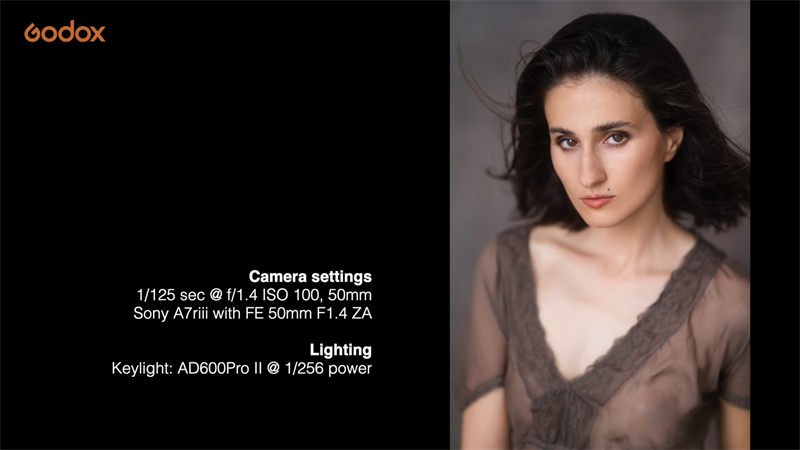
This ability, along with the smaller increments between power settings, gives us incredible flexibility within a single light: from a whopping 600 watt-seconds at full power, all the way down to 1/512 for super delicate pops of light, depending on the look you want to achieve, both in and outside the studio.
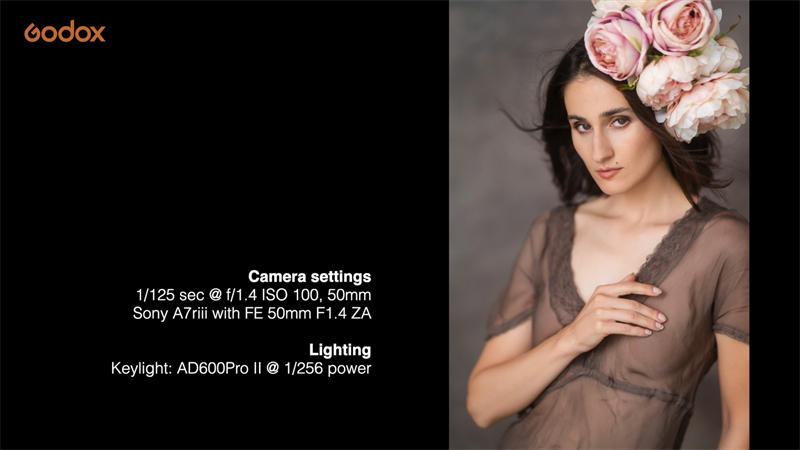
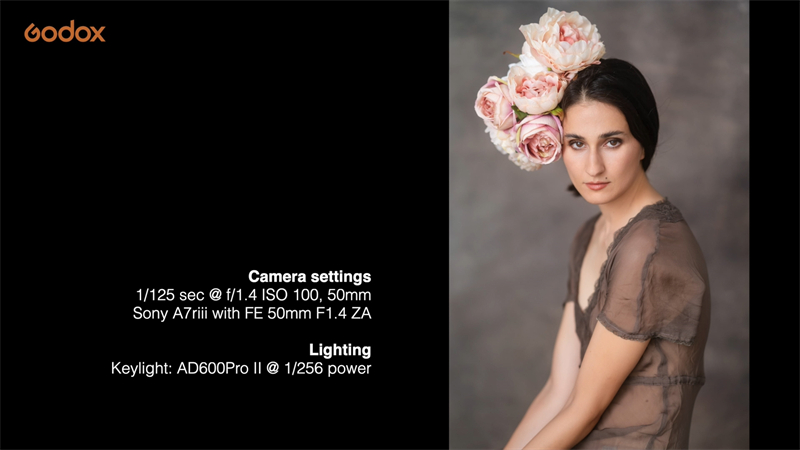
Our final look is classic and striking, so I pull the softbox closer to our subject for a perfect Rembrandt lighting pattern.
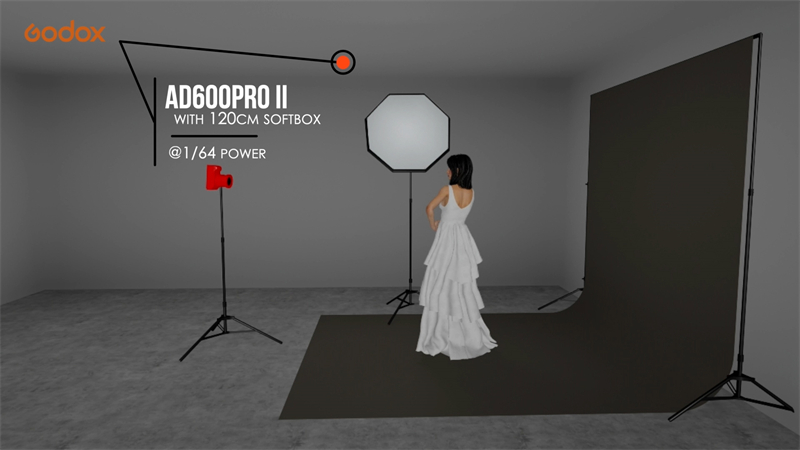
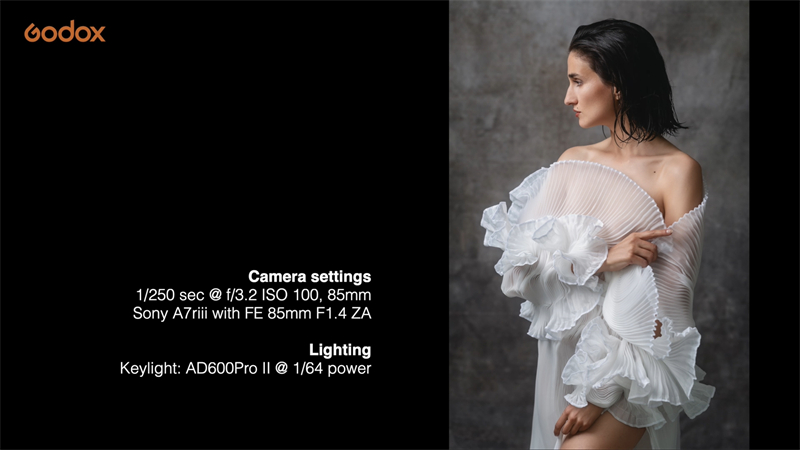
See that distinctive triangle on her cheek when she is facing the camera? That’s the painterly style I want. My shutter speed is at the maximum sync power to reduce the ambient light creeping into the shadows.
I sometimes love to use natural light and blend it with my strobe, and I’m lucky enough to have a daylight studio with huge windows that allow me to do this. But what if you don’t have this even, natural light available? Well, remember the bounced light… you can create your own fill light by bouncing a flash off the ceiling.
The result would look something like this, depending on the power of the bounce: it’s much brighter and airier, as you can see in these test shots.
If you want a dramatic rim light, turn the AD200Pro around to face the model at 45 degrees behind her and add a gridded strip softbox. This creates a much stronger and narrower rim light and adds dimension and drama.
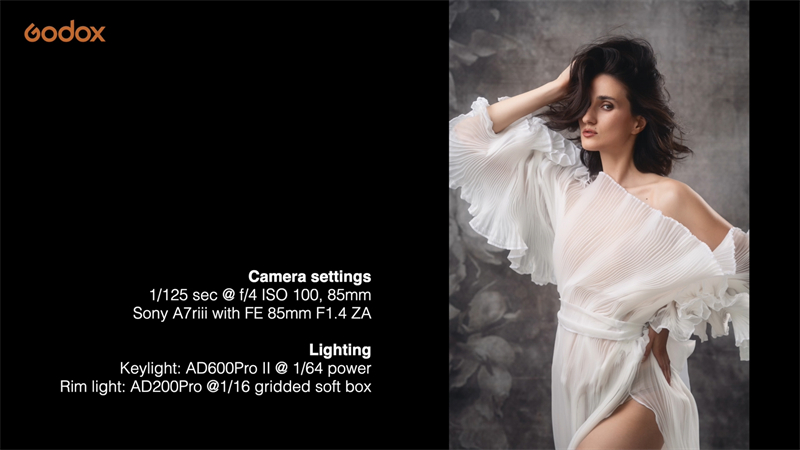
After playing with these different settings and looks, I’ve decided that one light is the way to go for a timeless, classic look. So, I simply switch off the rim light with a few taps of the X3 trigger touchscreen and really use both the light and shadow to sculpt the dramatic gown and hairstyle. Everything is so easy with the AD600Pro II; I absolutely love it, and so does Catherine.
Hopefully, the techniques used today can inspire you to create using the AD600Pro II and Godox’s vast range of photography products.