Popular search
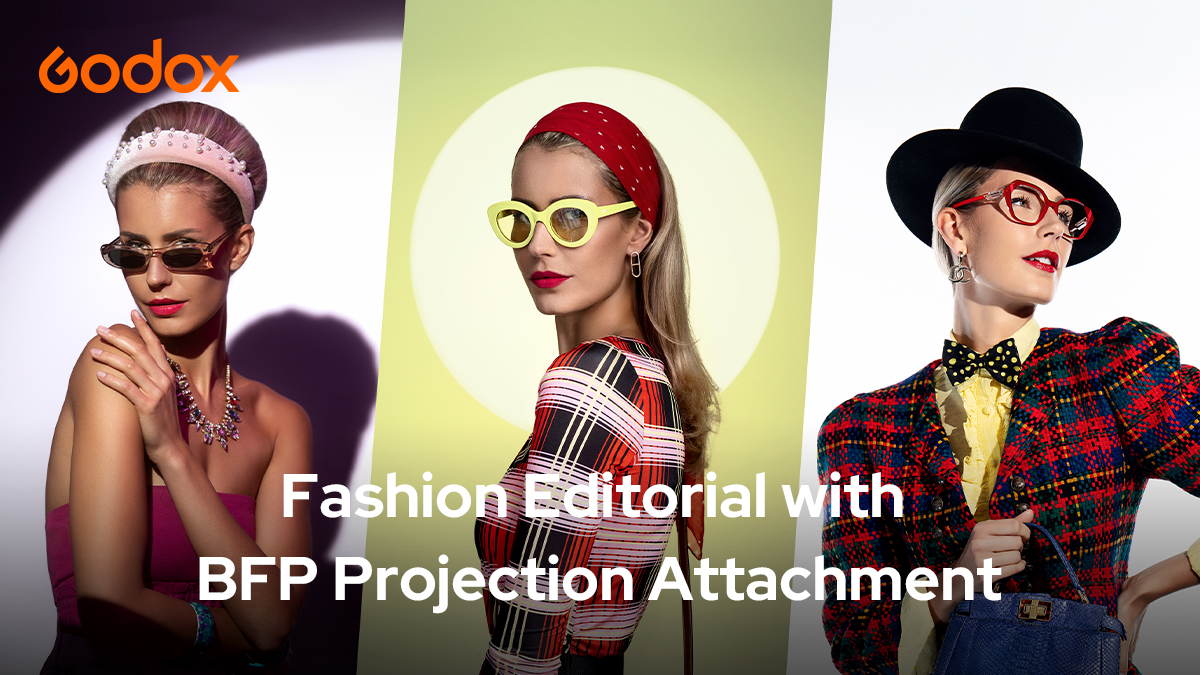
Welcome to the Godox Photography Lighting Academy. I'm Sarah Edmunds, and this week we're in my studio in Italy, testing out the astonishing BFP Flash Projector. I've been so excited to get my hands on this product and spoiler alert—it didn't disappoint.
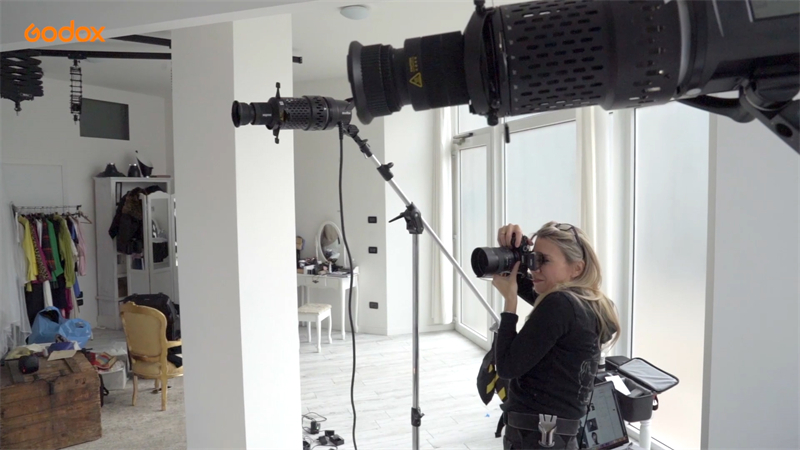
Introducing the BFP, this light-focusing adapter has a Bowen Mount attachment. Today, I'm using two of them with an 85mm lens on an AD600 Pro and an AD1200 Pro. I'll be making full use of the iris to create tight circles and the shutter blades to make slices of light and shadow. I'll also be using gobos and gels for added impact and interest.
My goal here is to draw attention to the accessories that are the focus of this fashion editorial. I want a polished, high-fashion look to give a luxurious feel.
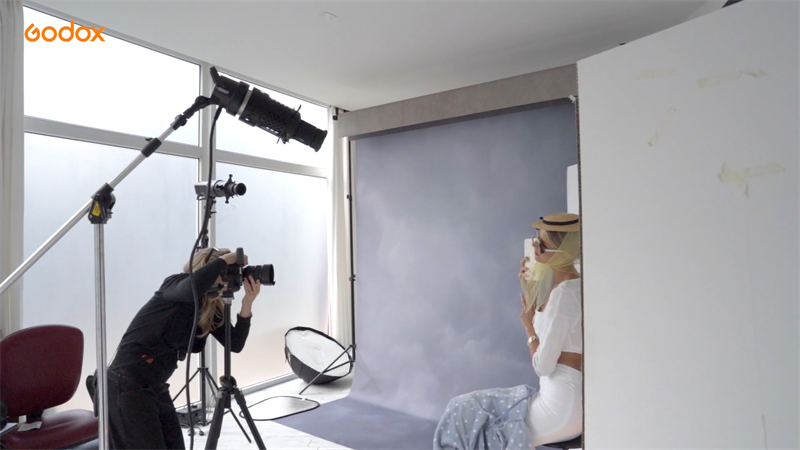
Sometimes, when you're focusing the light on very small areas, positioning the BFP is key. You might need to darken the room so you can use the modeling light to see exactly where the flash will fall and fine-tune the positioning.
For the first look, I've decided that the all-white outfit and accessories would really shine with a high-key lighting setup.
My starting point is a really bright white background that glows and wraps light around the model. Then, I add the AD1200 Pro with BFP and use the shutter blades to focus light on the products I want to showcase, which in this case are the glasses and handbag.
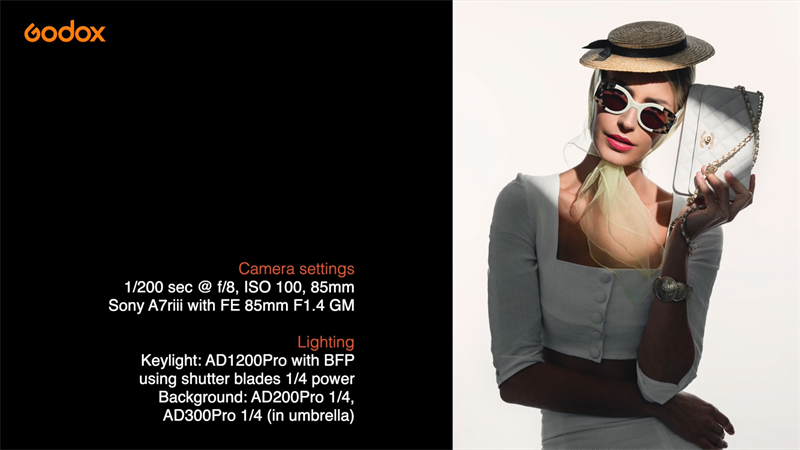
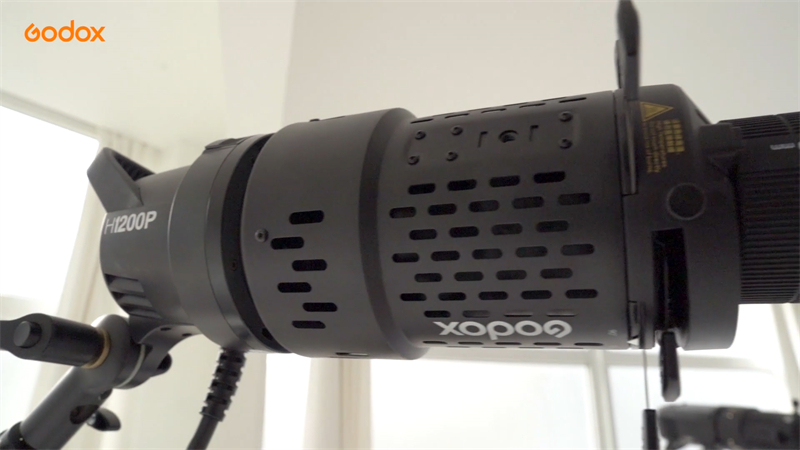
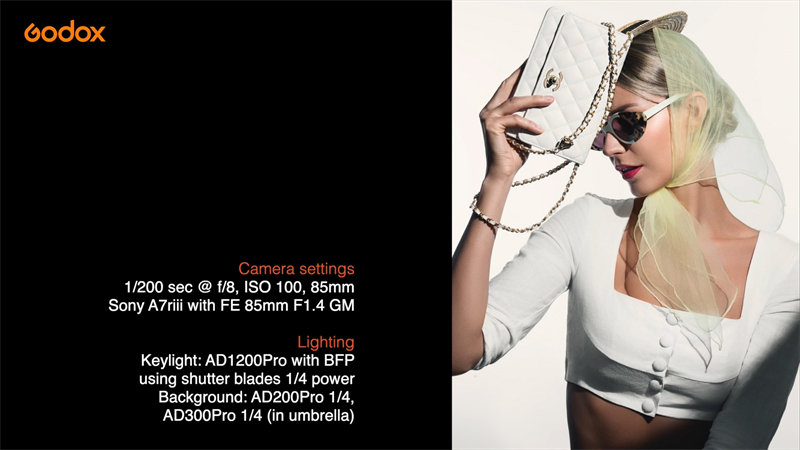
White V-flats angled towards the model help add a fill light to the shadows so we can still see the details of the outfit. The overall effect is noticeable yet subtle. With the BFP, I'm able to control exactly where the light falls with great precision.
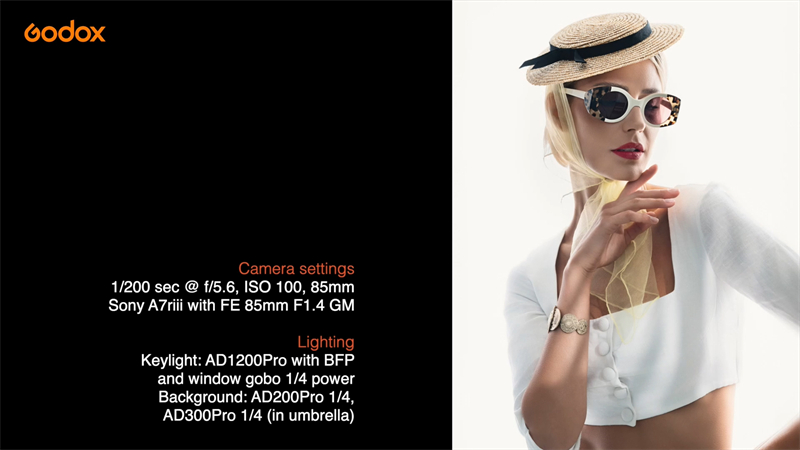
Next, I add a gobo to the key light with a window effect.
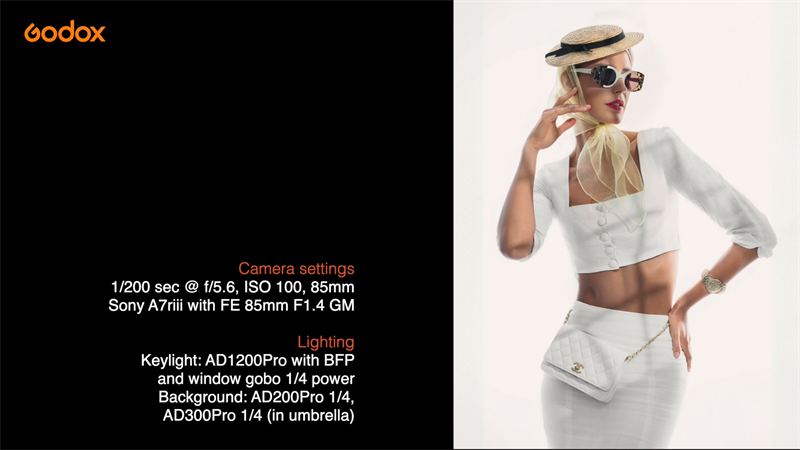
This overlays a subtle grid of shadow over the model while still maintaining the glowing white background. By rotating the lens, I can sharpen or blur the shadow.
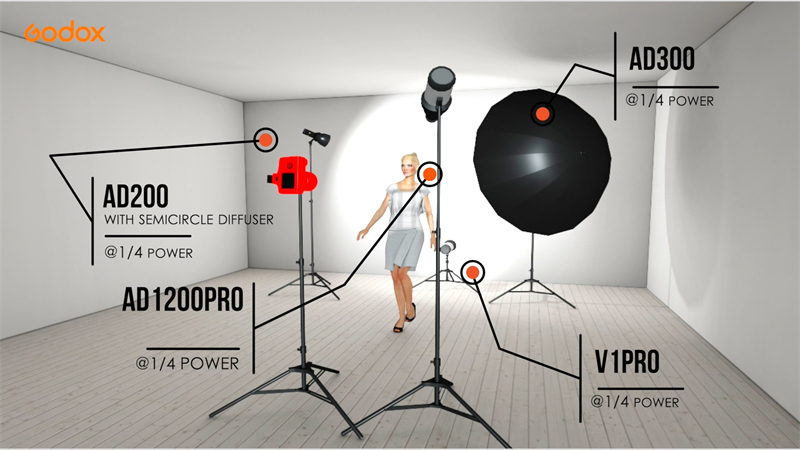
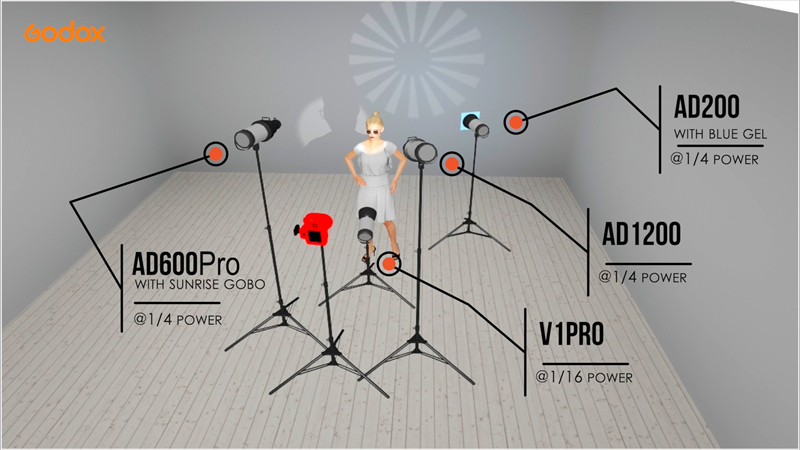
As I'm shooting seven different outfits with multiple lighting setups in a day, I have the AD300 all set up in an umbrella for quick use later. Here, it's lighting the background along with the AD200 Pro with dome diffuser. I also have a V1Pro on the floor to light the lower part of the background.
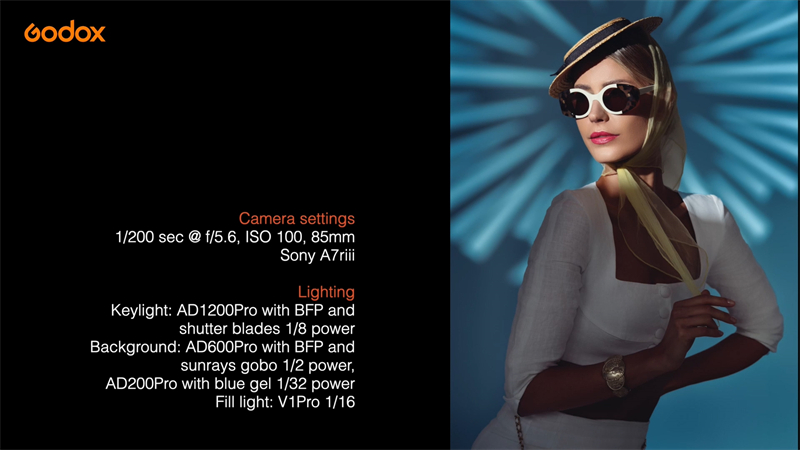
For the final lighting look for this outfit, I decided we need some color for a more retro feel. For this shot, I'm using two BFPs—one is pointing at the background with the sunray gobo, the second is on our model with shutter blades to create a square shape that highlights her hat and sunglasses.
An AD200 Pro with gel under the diffusion dome fills in the shadows with blue. The result is dramatically different.
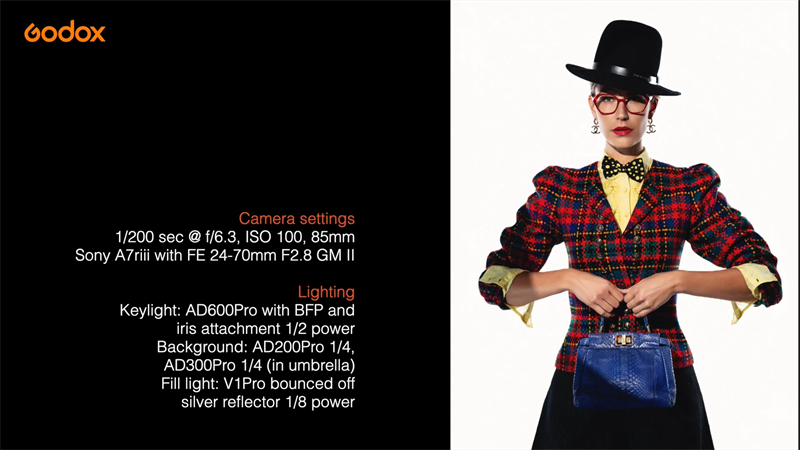
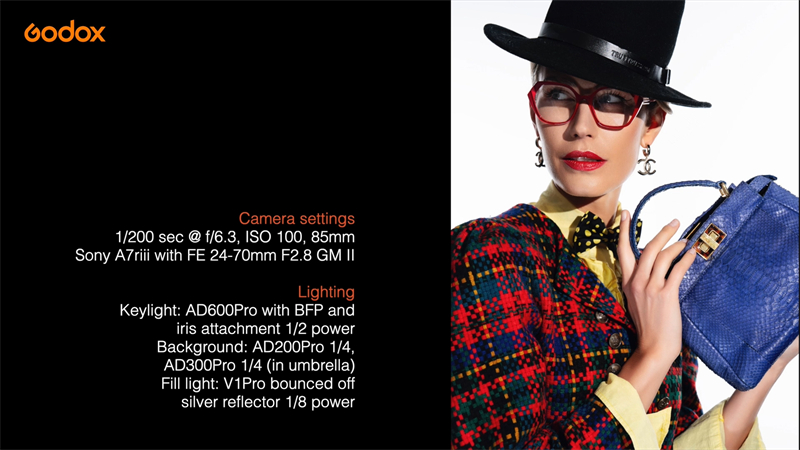
Our next look has a high-fashion eclectic aesthetic and it's all about the bag.
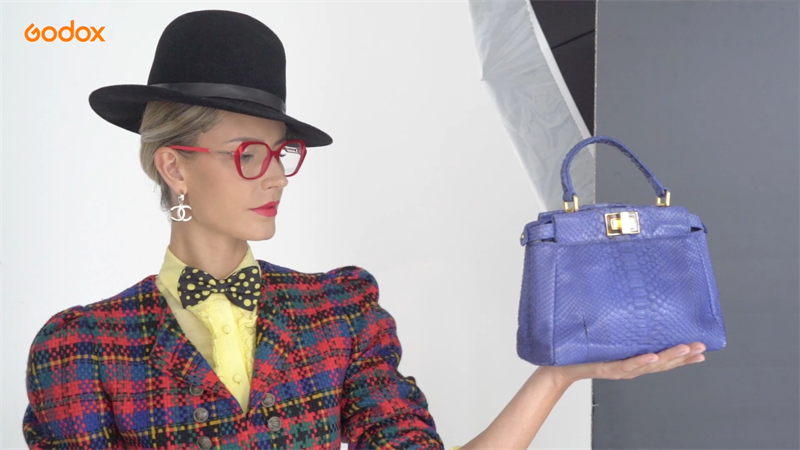
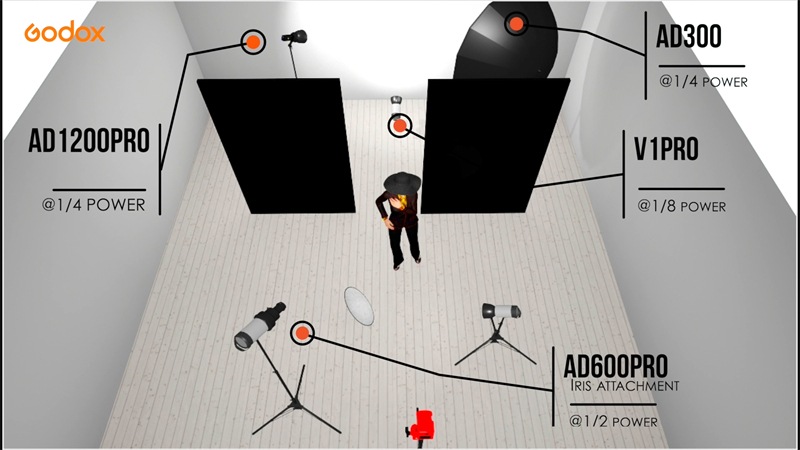
I'm keeping the bright white background, pulling in some black V-flats behind the model to add contrast and vertical lines.
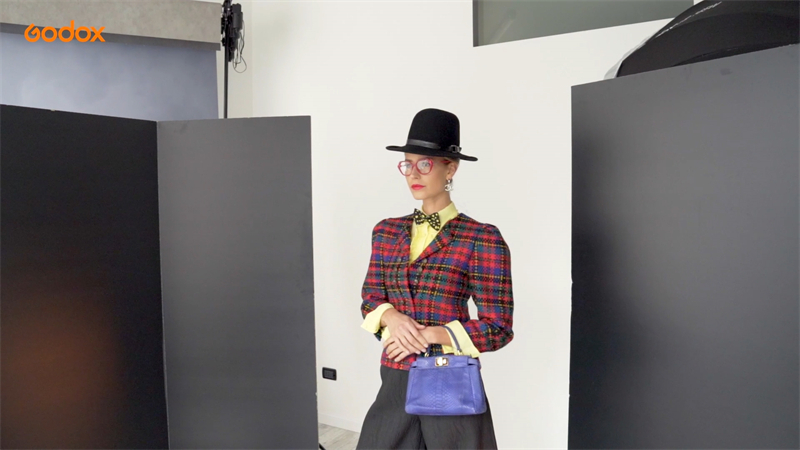
The iris attachment on the BFP allows me to create a crisp, curved shadow that draws attention to the designer bag. The black V-flats also catch the light coming from the BFP's iris, creating a spotlight effect that is really dramatic.
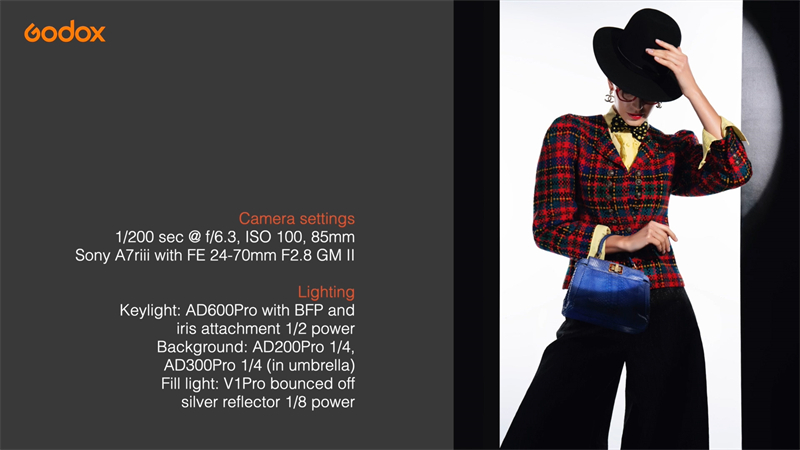
The shadows cast on the model's face are deliberately sharp, and I emphasize the glossy feel that this creates with a V1Pro aimed at a reflector in front of the model. This emphasizes the specular highlights on the face and details of the bag.
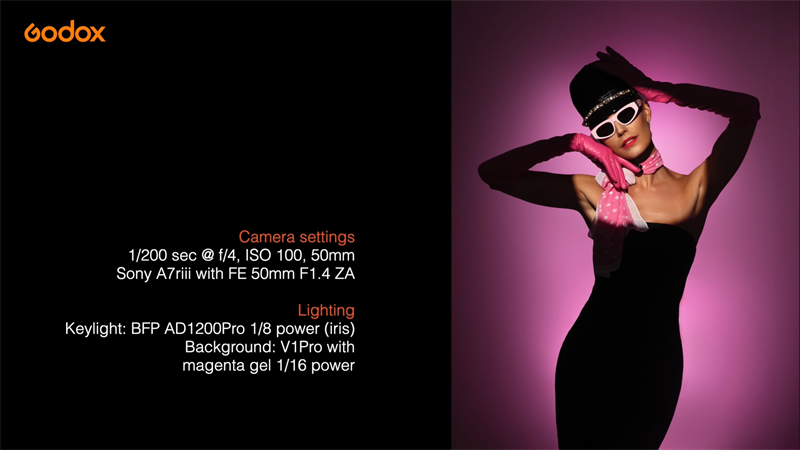
Our next look sees pink as its protagonist. To begin with, I want to keep the white background and iris for continuity while using a light pink gel in the shadows to draw attention to the pink gloves.
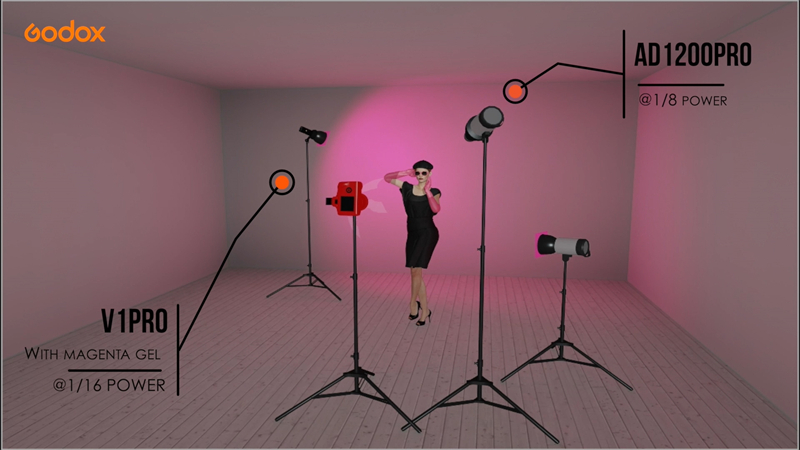
Compared to the very first setup, I've lowered the intensity of the white background to reduce light wrap-around and maintain high contrast between the model and the background. The iris on the single BFP I'm using throws most of the body into shadow and literally spotlights the hat, gloves, and glasses that are the focus of this shoot.
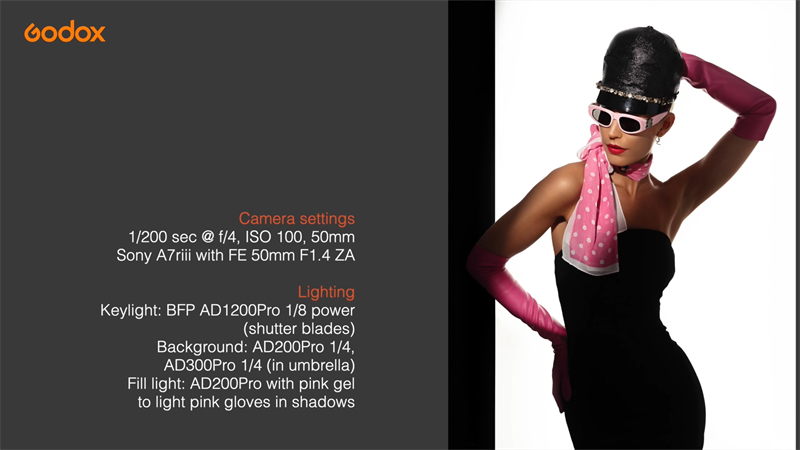
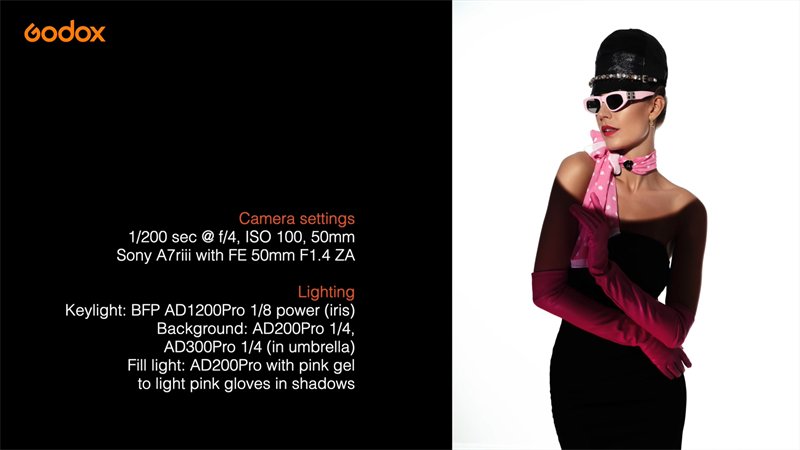
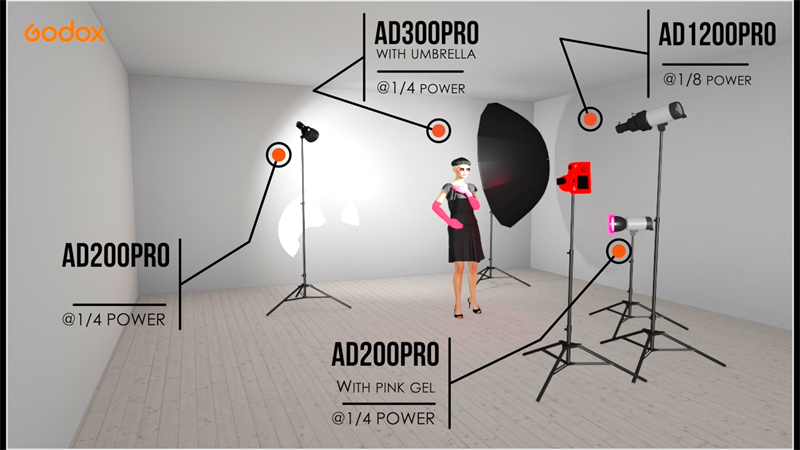
To quickly and easily change the background completely, I simply turn off the lights that are making the background white and put a fuchsia gel on the V1Pro on the floor behind the model. This fills in the shadows behind her and turns the white wall bright pink.
This is just part one of what we got up to for this shoot, so stay tuned for part two in which we blend the BFP with soft light for a vintage look and experiment more with layering two BFPs for high-contrast glamour. Hopefully, these techniques will inspire you to create too, using Godox's vast range of photography products.