Popular search
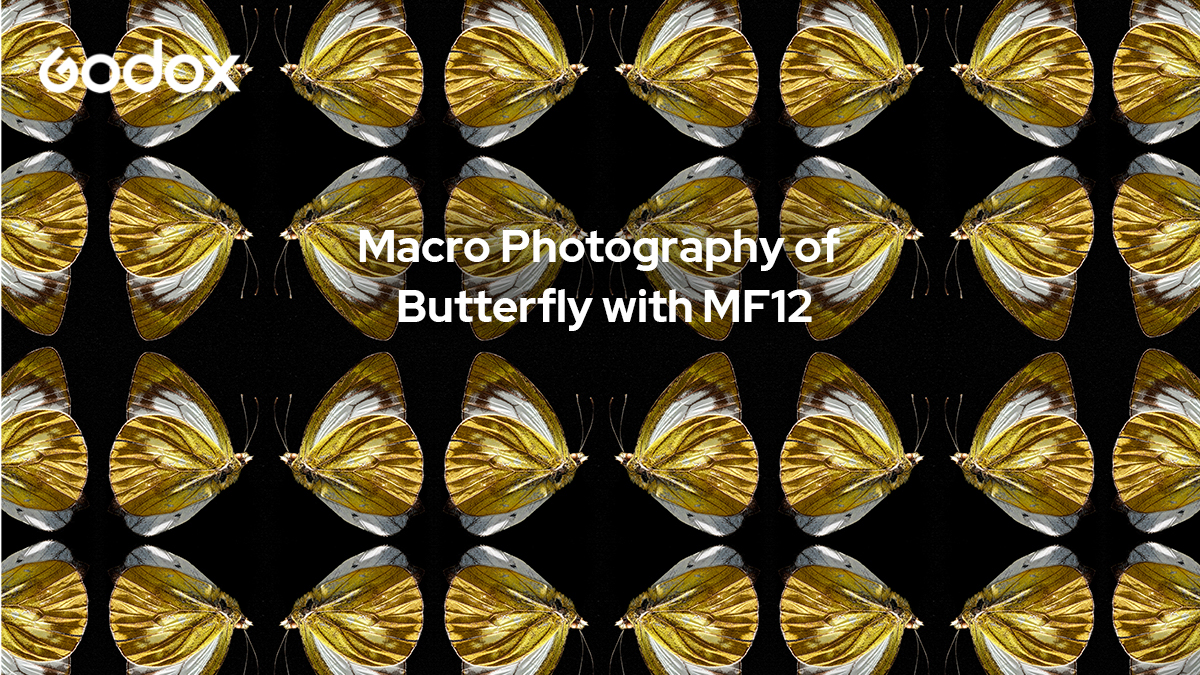
Photographer Richard Weinstein shows how he uses the portable and flexible macro flash MF12 kit to add contrast, experiment with different light effects and present the beautiful details and texture of the butterflies.
Background
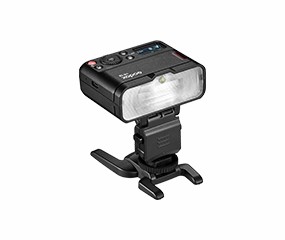
Hello, I'm Richard Weinstein, and I'm going to be exploring today the Godox MF12 portable flash kit. These are brilliant for macro photography, and all come beautifully wrapped up in this nice little case. We’ve got two beautiful MF12 little flashes, a lens ring, a whole stack of adapter rings for everyone to suit the lenses, a whole set of color gels, and these cold shoe adapters that patch into the bottom bracket. Godox has included this close-up positioning adaptor, and it just fits really easily over the front of the flash, clicks in and allows you to get close for that macro photography.

So it's been raining for a couple of weeks in Sydney, so I decided to take what I usually shoot outdoors and bring it into the studio. So I've just popped a plant, and I have found some beautiful butterflies that I thought would be a love subject to play with some macro lighting. So I've got a macro lens on the camera today. I'm working with the cannon 35 mm.

Setup 1
Macro photography is a wonderful genre to explore and practice your lighting techniques, but it is quite challenging to get light into the subject when you're working so close, and that's why I think these MF12 are going to give us a beautiful result. I always like to start off with one light and get my main direction. The ring is designed in a beautiful way that it's very easy to rotate and slightly change the angle. The macro lights also have the flexibility of tilting. And this is going to give you a slightly different lighting effect. And I've got a little purple gel on just for color effect and a bit of drama.
And I'm just doing a few variations where I'm just tilting and using the angle adjusting feature. This is gonna give slightly different results as the direction in the angle of the flash starts increasing texture and getting a slightly different quality of light hitting your subject.

No flash

MF12*1+Purple color gel Position and angle 1

MF12*1+Purple color gel Position and angle 2

MF12*1+Purple color gel Position and angle 3
When you're happy with your first light angle, then it's time to turn on the second flash and again experiment using different angles and positions of the flash.

MF12*2+Purple color gel Position and angle 1

MF12*2+Purple color gel Position and angle 2

MF12*2+Purple color gel Position and angle 3
Adding the extreme close-up positioning adaptor featured specifically design slope structure, and this helps to illuminate inwards and light up the narrow space right before the lens. This is often an area where it's too close to be focused, so this is especially suitable for shooting extreme close-up subjects.
It’s good to experiment now with a few different angles, and again, there's just nice clicks to get angle adjusting pretty accurate and consistent. Besides being contact and powerful, these MF12 have a rarely fast recycling time. They also have a lithium rechargeable battery, which pretty much lasts the whole day and gave me lots and lots of power.

MF12*2+Purple color gel+Extreme close-up positioning adaptor Position and angle 1

MF12*2+Purple color gel+Extreme close-up positioning adaptor Position and angle 2
The gel sets included in the MF12 are really excellent, and they slide into adapters easily and just click onto the front of the flashes. So these color gels are going to allow you to correct light sources and give special effects. And there's a whole range of different colors and effect shells which you can try. I wanna give this little setup lots of dramas. I've chosen the red and again, just do some experimentation using one flash at a time. This is going to help you learn what each light is doing, and give you a lot of options. When it comes to creating unusual and dramatic lighting effects, I've popped a red gel onto my backlight. I'm looking for jungle night and lots of drama, a little bit of purple coming in from the side, and then just a soft fill.

No flash

MF12*1+Red color gel

MF12*2+Red color gel+Purple color gel

MF12*3+Red color gel+Purple color gel+Extreme close-up positioning adaptor
Setup 2
I'm setting up for my second setup, and I'm looking to just document the range of butterflies that I've been collecting, looking to go in a lot closer and just get really good detail of the textures, the colors and all the fine hairs coming of these little insects. I've got a two-light setup to start, and I've decided to use my close-up adapters. These give a nice quality for this type of macro work. And then you can start to play an experiment by adjusting the intensity and brightness of each light source. So I'm going to start with one light, and my 1st exposure is going to be at the maximum, tilt back a lot more, even slightly different effect.

No flash

MF12*1+Extreme close-up positioning adaptor Position and angle 1

MF12*1+Extreme close-up positioning adaptor Position and angle 2

MF12*1+Extreme close-up positioning adaptor Position and angle3
And my second light also has the close-up adaptor. Having a third light off camera at a really low angle, it's going to bring up a lot of texture. That's happening along the wings. I've noticed this lots of bumps and ridges. And I think a low light, with a hard directional light source, is going to help me bring up that type of detail. Seeing that it has more drama, a little bit more dramatic.

MF12*2+Extreme close-up positioning adaptor

MF12*1 Off-camera
Because it's a yellow butterfly, I want a kind of contrast the light with them a purple or a dark blue. Lots of options. These are beautiful little sets. They just pop into the little holders. Everything is plug-and-play, easy to work with and really light. That is also a big consideration for me when you're hanging a lot of weight off your lens and your camera. So another big advantage is having something nice and light. Let's see how this is going to work out.
I do wanna still bring in a little bit of fill, so I am gonna bring back my sidelights just to bring up the shadows, still retaining that mood. Look at that. Just an absolutely beautiful capture and portrayal of this interesting little insect.

MF12*3+Purple color gel

MF12*3+Extreme close-up positioning adaptor