Popular search
#Retro style #dinning room
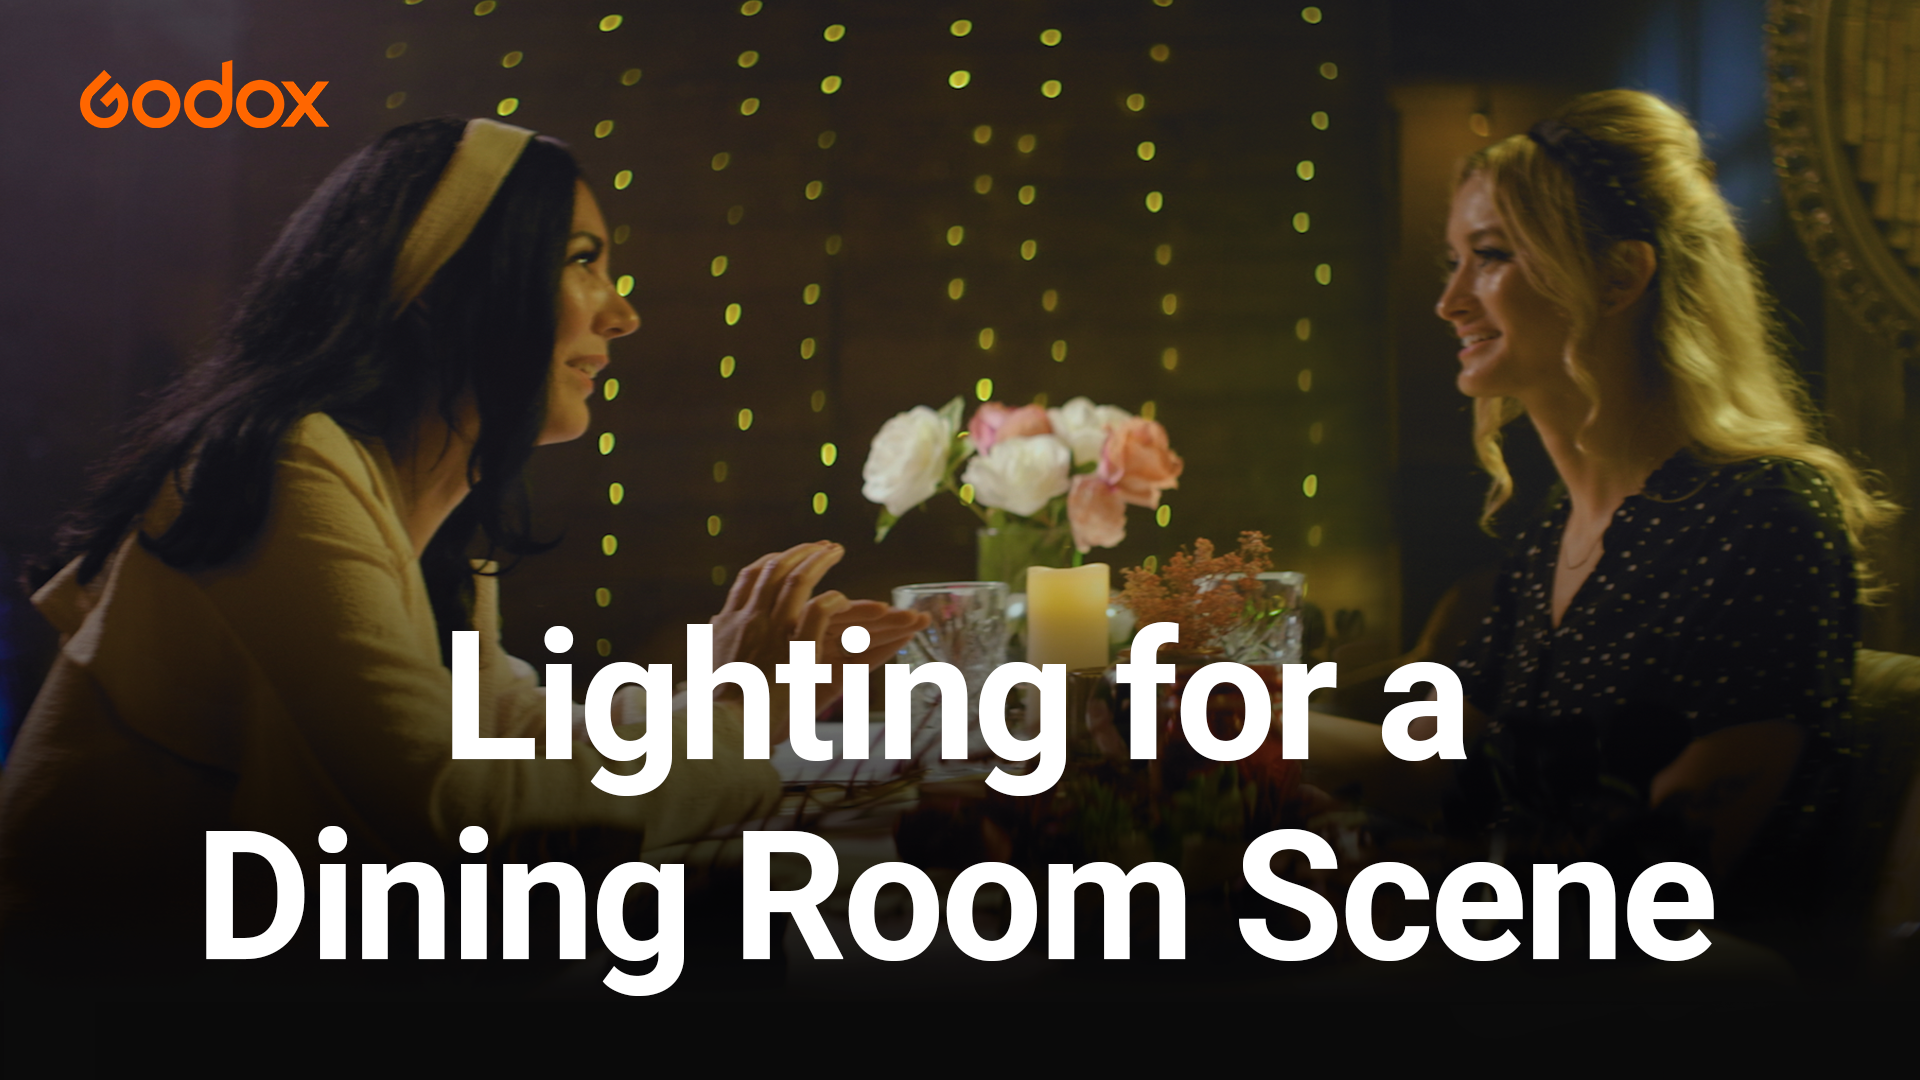
Dining room scene is common in many films. Two characters sitting, eating, and talking can be found everywhere in cinema. But it is not easy to use lights to mimic the specific atmosphere of dining room.
Director Jameson Brooks talks about how he uses set design and lighting to craft a 1950’s style cinematic and moody dining room scene. From this article to realize how he uses Godox panel light LD150RS and LD150R to light up the subjects, S60 with gobos and TL60 four-light kit to add more depth for the scene.
Background of the project
Alright, so we are here in this empty studio space to shoot a dining room scene. The idea is to create a retro-inspired speak easy. We really like this location because it has a lot of texture everywhere. You’ve got wooden panel on the walls. You’ve got brick texture over here. You’ve got some stainless steel features, as well. And, there’s also a few little cubbies that are tucked away which gives us places to hide lights, and help shape light within our scene.

So, an important thing to consider when choosing your location is to find a spot that has really good practicals. What we liked about this location was that practicals were all over the place, and really the main trick is to add light to enhance the practicals from within the scene. That’s exactly what we’re going to do.

For this particular room, we chose to put our actors in the dead center of the room because it allows us to show off more of the space and architecture. Since this is a dining room scene, we need to set the table. So, find some props that will work best for your scene.

This is like a 1950’s style mood we’re going for, so the props themselves need to match that era. Now that our table is set, and our subjects are placed. We’re going to turn on the practical lights and use Godox lights to set the scene.

The lighting setup of the background
Here’s our starting point. It’s looking really dark, so from here let’s add a few more practicals and build from there.

Let’s look at where we’re at now that we’ve added a few more practicals to the scene. Mainly the green lamp on the table, and then another light further back in the background.

The shot still seems a little bit dark, especially on the subjects and even in the background. So from here, let’s add a few Godox lights to compliment those practicals. So to compliment the practicals, what we wanted to do was accent a back wall. By doing this we placed four Godox TL60 tube lights along the bottom of the wall.

Now I can control them remotely with the Godox app. What great about using the app is that you can use the color wheel, and dial in the TL60 tube lights exactly the tone that you want and it’s easy to manipulate.

So we decided to go with a CTO color to compliment all the other practicals around the environment. And we wanted to go with a blue which is a good color contrast to compliment that orange tone.

Now, we’re going to look at this green wall that is right behind me, and give it an accent of a window shadow effect I chose to go with a Godox S60 Led focusing light with the lens projection attachment, and a gobo of a window frame. What this creates is the cast of a window shadow across the wall. Which really helps create realism in your scene.

The Lighting setup for the subjects
We’ve added some lights in the background to really help with those practicals by creating depth. So we have the S60 casting a window shadow on one wall, and the other wall has four TL60 on the ground to accent that brick texture. Our subjects are still looking really dark, let’s add some light to make them pop.

The Godox LD150R Panel is a fixture capable of switching between a traditional multi-LED panel for hard light and a tunable RGB panel for colorful creative effects at the push of a button. One of the advanced functions of the LD150R is its RGB mode, which employs its LEDs to access literally over 16 million color combinations. You can quickly adapt the light to any scene without adding ND filters or diffusion. Furthermore, the light has 14 special effects that lend realism to your shoot, and can even be powered by V-mount battery.

The first light we’re going to add is the Godox LD150R which I can control with the Godox light app. That light helps brighten the subject on the right side of the frame, so let’s add an LD150RS to the other side to help balance out our composition. Now both sides have nice soft light across their faces.

I used backlighting to help give each subject dimension, so that they appear more three dimensional. This is the LD150RS, it has more of a square shape to it, and I chose to use the grid and soft box to help diffuse the light.

The grid helps contain the light in a perimeter, so it doesn’t spill everywhere else around the scene. It helps keep the light on the subject where you need it. This light is an LD150R. It’s more of a rectangle in shape, and is more like a sky panel if you’re familiar with one of those. This light is great because it has a wider surface area, and on this one I’ve also added a diffusion silk and the grid to help contain the light the same as I did on the other side. The final touch will be to add some haze to make this look like a speak easy or bar type setting. When you’re using haze you want to even out the haze, so you’re not seeing all the little smoke clouds that are happening in the air. Once you get the haze to a nice even level, you’re ready to shoot.