Popular search
#Filmmaking #Interview
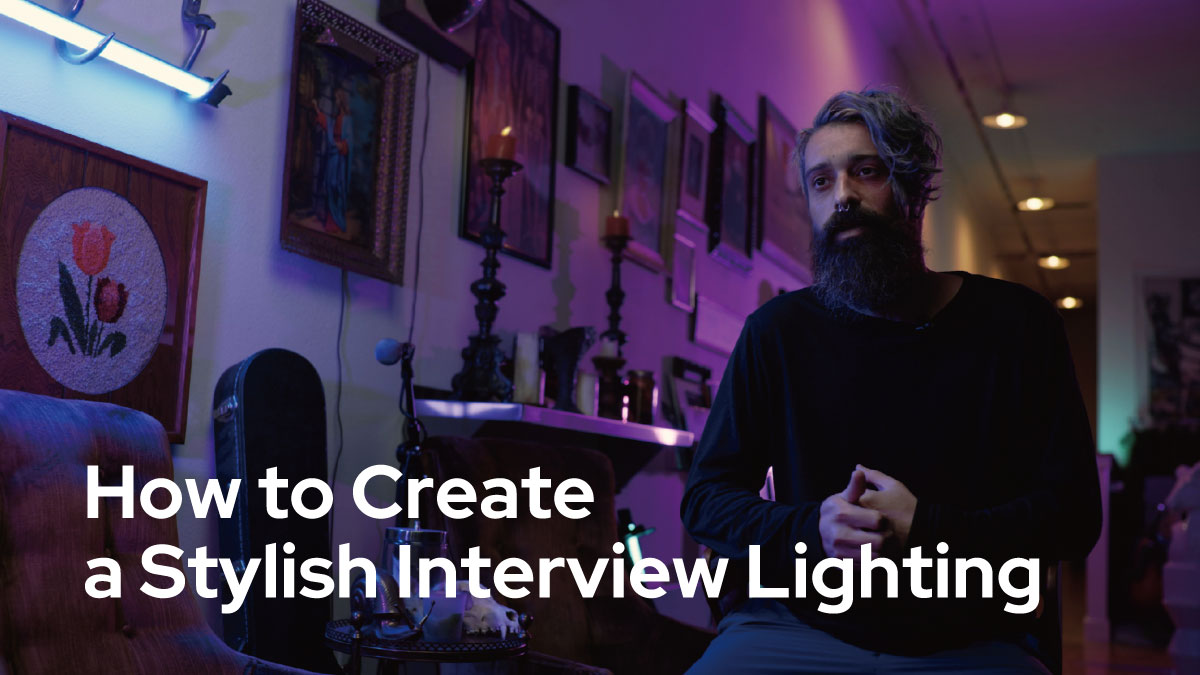
When it comes to interview lighting you may think that is simple. Lighting setups for filming an interview can become really complicated when it includes several light sources, especially when you want to create a specific atmosphere.
The director Jameson Brooks will share how he set up the lighting to interview Wally who is the Sci-Fi, thriller television series screenwriter. He challenged himself to stay creative by trying stylized lighting for different interview projects.
The background of the interview project
Interviews have always been the standard when it comes to working in any aspect of film and television, but the recent popularity of docuseries projects on Netflix, HBO, and other large studios, have made the interview a more cinematic and immersive part of story telling. The location, should try to help reflect the mood and atmosphere of whatever story is being told. We’re interviewing creative screenwriter, Wally as he talks about his most recent Sci-Fi, thriller television series.
We thought it’d be nice to interview him inside his vintage prop studio that he uses for the show. This allows the environment to compliment Wally and the story he is telling. The style and colors of this set up are definitely a little unique because of this, but we’re still implementing the basic lighting techniques used for any interview set up.

The Monitor and Microphone
For this shoot I got to use the new 5.5 inch Godox GM55 4k monitor and the new Godox WmicS1 Lavalier Microphone kit. The touchscreen monitor was impressively bright, and made monitoring my shot easy with the 3d LUT support and focus assist. And, the microphone produced smooth, clean audio, and was easy to set up. Both the monitor and microphone kit performed flawlessly.

The Key Light
The first light I placed was the key light. For this I used a Godox UL150 with a Godox Lantern. The UL150 is a fan-less, daylight balanced, silent light. It has zero fan noise which allows for clean audio capture. Perfect for interview set ups like this one.
The lantern is used to soften the light so that it creates smooth skin tones. Because of it’s globe-like shape it does a great job of wrapping the soft light around the subject, and environment.
I used the Godox C-Stand and arm to raise the light up high, and then angled the light downward toward the subject. This allows the light to look more natural as it spill across the scene. This light was set to 7% power.

The Second light
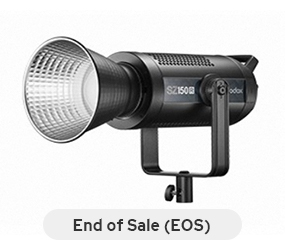
The next light placed was a Godox SZ150R. This light was used to illuminate most of the background and wall behind the subject. I was going for a more stylized and experimental look, so I decided to change the hue to a pink color. The SZ150R allowed me to quickly dial in the exact color tone I was going for. This light was set to a Hue of 275 degrees, Saturation 99% and 39% power.

The back light
Next, I set up a back light for the subject. For this, I used a Godox UL150 silent video light. I clamped a light rose purple gel to some barn doors, to help it match the light coming from the SZ150R. I aimed this light toward the back of the subject. This light helps add some motivated color contrast to the subject’s backside which also helps separate him from the background. This light was set to 3% power.

Using TL60 as background and foreground lights
From here, I added some layered lighting throughout the scene. I placed three TL60 tube lights at various places around the room…using them as practical sources. Meaning, they are actually seen in camera.
I love that you can dial in the exact hue from the RGB wheel. I used…kind of a greenish blue color for the background lights.
I then went with a bluer tone for the foreground, mainly to cast additional blue accent light across the wall.
These lights are powered by an internal battery, and are super lightweight. I was easily able to place them through the environment to create depth and layers of light.
The 2 background lights were set at a Hue of 170 degrees, Saturation at 100, and power at 33%.
The blue foreground light was set at a Hue of 231 degrees, Saturation at 100, and the power at 33%.

Creating purple lighting
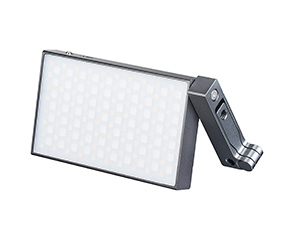
From here, I used a portable Godox M1 to light more of the foreground with more motivated purple lighting. This light is tiny, yet powerful, and can easily be placed anywhere. I set the color Hue to 257 degrees, Saturation to 100 and 100% power.
The Final light
For the final light, I placed another TL60 tube light in the direction that the subject was looking. This light provides a nice eye light for the subject, as well as, a few stops of daylight colored fill to help illuminate his face. This light was set at 4500K and 8% power.
The negative fill
The final step was to add some negative fill to the side of his face. I used the black, side of a Godox 5 in1 reflector, and positioned it to wear the reflector blocked out most of the ambient light coming from the rest of the room. This helps create shape on the side of the subject’s face making the subject appear more 3 dimensional.