Popular search

Creating Background
“This episode we are in Europe’s fashion capital, Milan, Northern Italy. We are at the renowned Cross Studios, which gives us plenty of space to experiment with some creative lighting setups to suit the disco editorial theme we have planned. I have brought my entire Godox collection with me, and will choose the light to suit the mood that Valentina, my stylist, has created.”


Setup 1

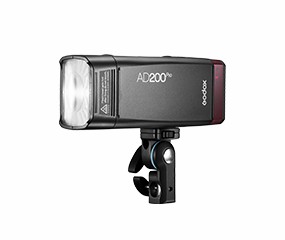
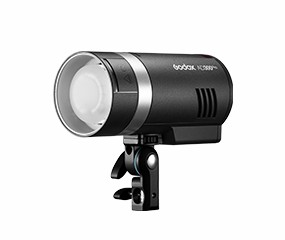
My original plan was to shoot against the huge white cyclorama we have available, so I have positioned two ad200s with round head attachment and diffusion dome so the light hits the background, and my key light, the ad300pro in a silver beauty dish, lights our model Gabriela. Without the ad200s, the white background would appear gray.

But as I start to shoot, I realize something is missing, and the coloured sequins of the model’s bodysuit give me an idea. We need COLOUR.It takes seconds to place an orange and purple gel under the magnetic diffusion dome of the ad200s, and all of a sudden, magic happens.


Setup 2

I’m removing the round head attachments of the ad200s, replacing them with a bare bulb to use inside two gridded softboxes, which will be our rim lights.

Our key light will be the ad300pro inside one of my favourite modifiers, the lantern soft box, which gives a gorgeous light fall off.

We have a traditional three point set up, with the key light centrally placed in front of and above the subject, with the rim lights kissing the hair and shoulders and providing nice separation from the background.

I love this look, but I want to add some dynamic movement to the images and really capture a feel of dancing.So I slow the shutter to one second, also known as dragging the shutter. It’s often recommended to use rear curtain sync while doing this, but as these are portraits, and I want to have full control over the moment the flash fires so I can capture the pose I want, I am using front curtain sync. This means the strobe fires at the beginning of the exposure, then either the model moves or I move the camera or zoom the lens to create the blurred motion effect.

I add a little more colour to the ambient light captured with the slow shutter by adding a bright pink gel to the continuous pilot light of an AD100Pro.


Setup 3

To ensure our model is fully lit from head to toe, I’m using a fill light shaped by a large reverse white umbrella with diffusion. For an extra pop of specular light, there is also a silver beauty dish with grid attachment lighting her face.


The camera settings mean we can’t actually see the light coming from the prop light in the background, so I recreated the effect of this warm light hitting her left should using an AD100Pro with CTO gel and grid.
Setup 4

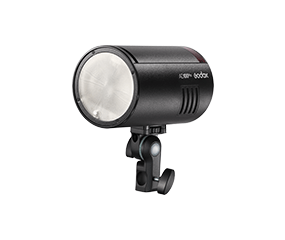
To end the set, I want to see what we can achieve with just one light. I start with the ring flash head powered by the AD1200Pro on camera. This creates a really distinctive flashed look, with an even shadow all around the subject and very even, shadowless light on the skin.

Then just move the light off camera to a 45 degree angle, and you have a striking, sculpted look with a single strobe.