Popular search
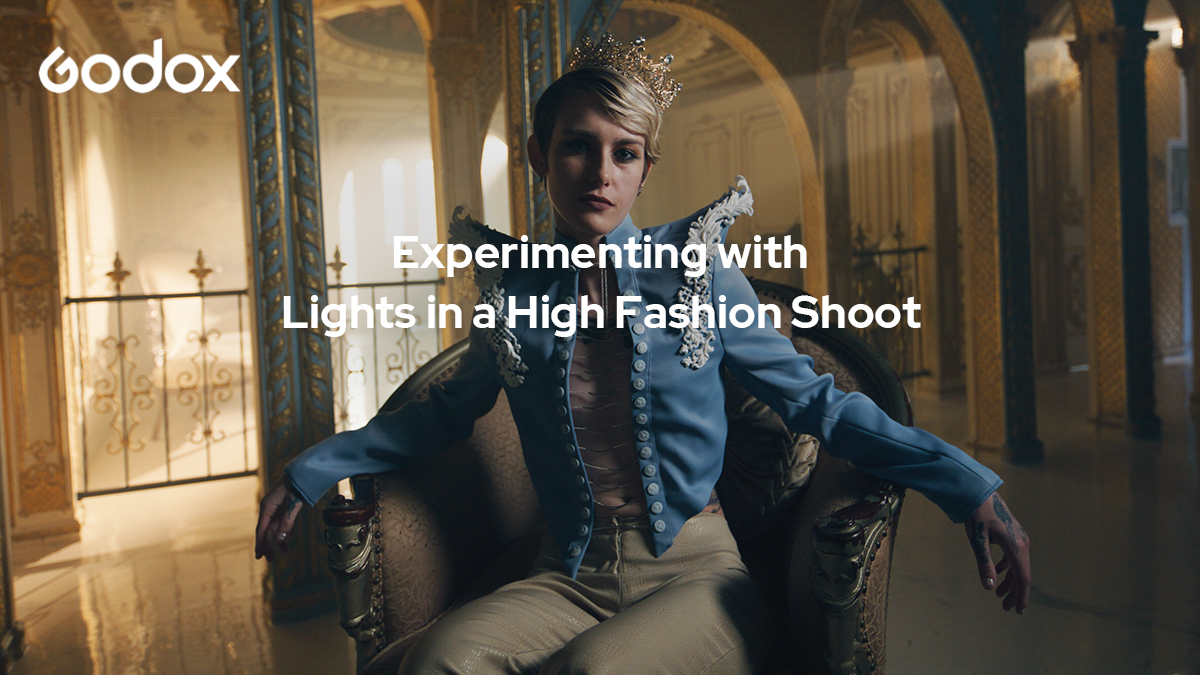
In this episode, the team focuses on creating a high fashion experimental shoot. They cut and shaped lights to compliment the textures and the character of the location, bringing more depth and volume to the image, and also to highlight the intricacies of the details of the designer's work.


The Location
We found a location that had this Palace of Versailles aesthetic. We used Godox lights to help compliment the textures and the character of the location.
Once you have a location locked and it's this beautiful, it really inspires everyone. It's really fun to see what you can create in such an awesome environment.


Background
Cat Damian: We shot a high fashion commercial with three models who did a fantastic job in a beautiful location with awesome lighting. Once I saw where we were gonna be shooting, I did some sketches. I did some renderings. I was super inspired by the architecture, the style, the design, the relief, and the art on the walls. And so I wanted to create high fashion for the models to wear that would compliment the environment and feel like it really blended in.


She actually took photos from our location, used the environment to fashion her designs. She hand-picked three models that she knew would compliment those designs.

Cat Damian: I did my sketches, my sculpting, my fabric selection. I cut and sewed so that everything was from scratch and would be perfect for this amazing house.


One thing we like to do whenever we're doing a high fashion shoot is because we're not recording any on location audio. We can actually play music. You know, we asked each individual model what their favorite music was, what they wanted to listen to, what they wanted to vibe with.

We play that music and it really just helps, you know, get them in the zone and everybody on the crew fills it, the talent fills it. And really, it just helps bring something special that we can see on camera.

Truly, I've said this many times before the lighting is actually the most important thing in the whole shoot. Like really you can mold the scenario to anything you need with the lighting.

Cat Damian: Good lighting can really make or break a fashion photo shoot. Especially when you're thinking about your color palettes, the types of fabric you're using and your style.

We didn't get to really see the creations come to life until they were brought out. So once the hair and makeup did their thing and the Cat's wardrobes were on the talent, the talent came in and we saw it with the lights and everything. And it was just like, okay, this looks pretty cool.

The 1st Scene


As far as our first lighting setup goes, we wanted to place an M600Bi outside the door. And what that is doing is it's illuminating the frosted window and what's nice about the M600Bi it's very bright. It's like the sunlight. And you're able to control either all the way from a sunlight Kelvin to a daylight Kelvin. And so what we did is we turned it all the way down to a 2,800 Kelvin to create that nice warm sunlight effect and what that's doing. It's allowing our nice, soft diffused key light. And it's eliminating the subject nicely from one direction. And the direction is basically motivated by the environment of which the sunlight would come through the window.


One of the other signing features I love about the M600Bi bi-color light is that you don't have to bother using gels. You're able to just sweep the whole function from tongues in all the way to daylight with just twist of a knob. And it really just speeds up workflow on set a lot better.

Another thing that we did is we added the VSA spotlight to an M 300 D and what this is doing, it's casting a really cool sharp beam of light across the background.

The VSA spotlight is one of the best tools to use for that. It allowed us to just get razor sharp lines and pinpoint the light exactly where we wanted it.


The other good thing about this location, where there were chandeliers that were placed up high in the ceiling. And so we took some of the M 300 DS with the VSA spotlight attachment and were able to hit that light across the crystals that were in the chandeliers. And it scattered really cool illuminations and fragments all over the environment. And we just really got lucky. It's just a matter of experimenting and playing with your light.


The 2nd Scene


We really wanted the lights to be more of a creative department. We wanted to really cut light through the architecture and really just bringing more depth and more volume to the image itself by layering the light beyond just the subject itself.

So really to create atmosphere within the environment we brought in a Haze machine, and this Haze creates this really nice even fog. And that's gonna allow our sun beams like our light beams to be more sharper and defined. And so what we're doing is we're adding these beams in places like up high and directing them downward and that's mimicking sunlight, or maybe some natural source.


Another great feature that I like about the VSA spotlight is they have these little shutter doors that are on the sides and the top and the bottom. And it literally lets you cut the light to the exact shape and dimension that you want. I love that you're able to use the directional beam and you can use the knob to push it forward and back to create more of a flood light or a sharper spotlight that really gives you nice, defined sharp edges on your light beams. Or you can open it up all the way and just have a nice soft light source.


So the M300D and the M300Bi were the lights that we used with the VSA spotlight attachments and these lights, we added a hundred percent and because they were so bright, they really made the beam a lot sharper and it actually added more reflective areas to really highlight extra ambient light onto our subject in certain ways. So not only did we play with more harsh, high, key lighting, we wanted to actually add a little bit of fill light. And so we use an LD150R with a soft box and a grid. And this allows us to control the spread of the light across the subject, but also helping illuminate their skin tones in a more flattering way.


The 3rd Scene


The importance of using the VSA spotlights, what's really cool was these help create really sharp beams. And to do this, you need a lot of contrast in your environment. So what we did is we brought in a duvetyne curtain, and it's just a black fabric and you can place this anywhere. That's gonna block out any ambient spill or any other areas of reflection where you don't want light to hit cuz the darker your environment is the more that your light beams are gonna be illuminated and the camera sensor's gonna read them out. And this location had a lot of pillars and things to break up that light.


One of the fun tricks we did today was we used the cookie board in front of the M300s to break up the light pattern to create more light beams.

And so the camera travels through and as we travel through the light beams are highlighted as the camera moves through the hallway.

The Designer Scene
You Know, our costume designer, not only designed all the costumes and handpicked our models, she also brought in basically her whole craft station.

We wanted it to look like a busy creative space. So we still wanted the light beam aesthetic. So we placed some of the M300Bi and the M300Ds over in the corner. And we put the VSA spotlights on those just to cast some beams behind Cat.

We also hit one beam off of the table and the table was white. So what that's doing is it's reflecting light off of it and it's becoming ambient fill onto Cat's face.

And so we wanted the majority of our light to be coming from one direction. So that way we could add contrast to the other side of her face and what she's working on, just to allow more shaping the environment.

Also inside the creative space, we use the LD150R and we use the soft box with that just to allow a little bit more ambient fill, just so that it kind of cast light on more of the intricacies and the pieces that were all around her environment.

For the designer scene. We wound up placing two M600s outside to illuminate the curtains, cuz we really liked the yellow tone that they were giving off in the room.


At the end
Cat Damian: My favorite thing about the day was watching everything come together and then look larger than life. Once we saw it on screen, it looked incredible. It was stunning. Everything from light beams coming through the chandeliers to lighting that was soft and diffused. There were so many different layers. It was gorgeous.


When you have products such as Godox lighting that allows you to kind of move quickly in and out of spaces, it really opens us up to be a little bit more creative and take a little bit more chances and try a little bit more rather than just sticking strictly to like, you know, storyboards or to a shot list. We can just kind of get what we need to and turn on a light here and there throw a light there and just do quick pickups and literally just whatever, whatever we get inspiration at the time, we can just literally just throw it out there.


It was really cool to create today and have so many creative people on set. It was just a lot of fun and that was really the magic that we wanted to create here today was just, how do we make these sketches that Cat made? How do we put this in an environment, light it up and make it all, just come to life. And the Godox lights perform perfectly and it helped really illuminate everything and it did bring it to life.