Popular search
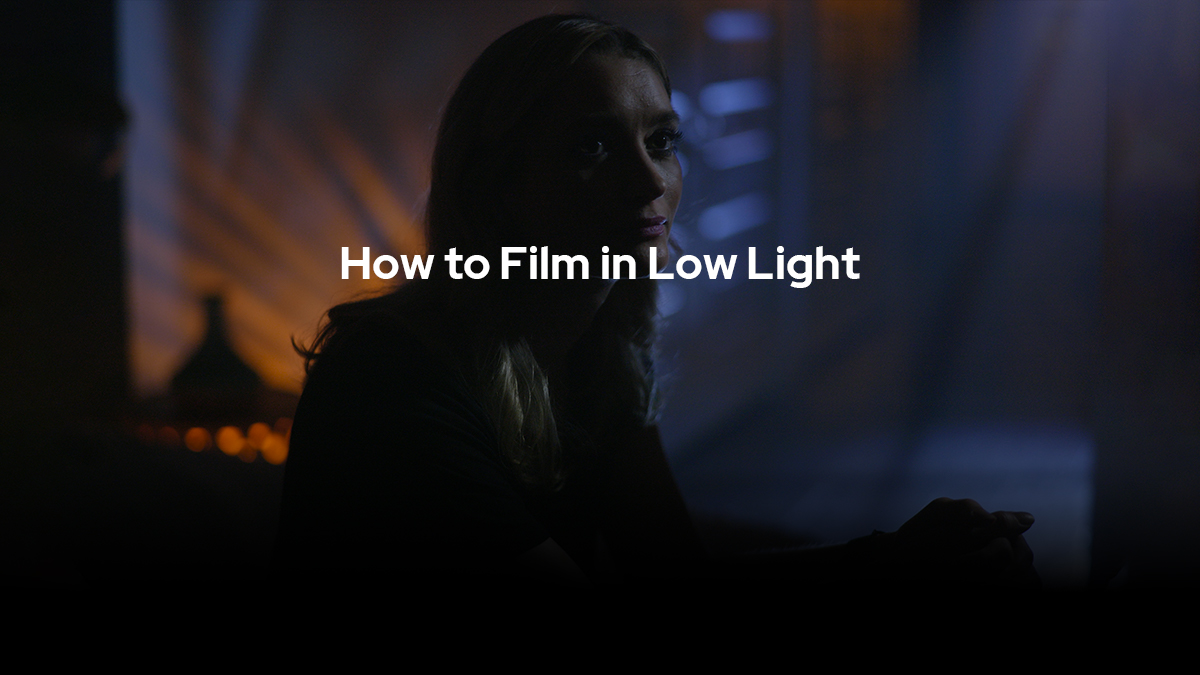
In this episode, Jameson will create a dramatic scene by using low light. This style of lighting is used in many thrillers, horror and dramatic scenes with a more serious undertone. When using low light, Jameson likes to think of light as a character itself. The way it illuminates the environment can help drive the story surrounding the actor.
Background
Hello, and welcome to Godox Film Lighting 101. For this episode, we'll be creating a dramatic scene by using low light. Let's check it out.
For this setup, we wanted to create something with a lot of drama by using low-key lighting. The style of lighting is used in many thrillers, horror, and dramatic scenes with a more serious undertone. It's one of my favorite methods for conveying mood without the need for any dialogue or exposition. When using low light, I like to think of the light as a character itself. The way it illuminates the environment can help drive the story surrounding the actor. So when using low light, don't be afraid to embrace the darkness. A lot of times, you're going to want to add even more light because you think it looks really dark in your scene, but shadows are your friend, especially when using low-key lighting. It will add even more mystery to your scene.


The Location
What we liked about this location was that there were several options to choose from. So when choosing our composition, we wanted the camera to be very close to our subject.
What was nice about this room is it had this corner right here, which allowed us to play with some really cool effects with the lighting. And we traveled back through here, and there was this long hallway. And throughout this hallway, we're able to cast all types of shapes of lighting across here, and it really gives us layers and texture throughout the scene, which really helps add mood and just a little bit more atmosphere.

The Props
A few things that I really liked about this set were this little nightstand right here has these little diamond-shaped cut-out holes in it, and I think those are going to cast really cool shadows once we put a light in there. If we travel back here a little bit more, there's this cool texture in the doorway here, and what that's going to allow is for dimension once we add some light to it. I think we're going to get a really cool effect with it.


Camera Setup
For this episode, we're shooting on the Panasonic S1H with a 50-millimeter Rokinon 1.5 prime lens. This lens is cool because you can shoot really low light, and it really lets a lot of available light in there, and it allows for a lot of shallow depth to field, which is perfect for shooting in low light. I've also added a Black Pro-Mist filter, the 1/8th version. This is really nice because it enhances skin tones really nicely, and also helps with the overall image. So no matter how large the space that we're filming at, I seem to always find a way to push myself back into a corner and really give myself no room to work. But by doing this, by putting your back against the wall, it allows the camera to have the most depth in what you're seeing. So it's not about how comfortable you are, it's about what actually is happening in your composition, which really is all that matters.


Lighting Setup
Things may look a little dark right now, and that's totally fine, because we're working with low-key lighting. And we want to set up a light to give our scene the most depth possible.

So we added a light back here on the patio. It's casting this really cool orange light, almost early morning-looking tone, all across right here. As we travel back here, what's doing this is the Godox LD150R, and this is a full RGB panel light. This is really cool because you can make it look whatever time of day you need to, and this light also covers a nice, wide service area. Here is the Godox Light app, and this app is really cool because you can control a light like the LD150R. And you can go into the settings, and it's full RGB, gives you tons of color options.

Here is the Godox Light app, and this app is really cool because you can control a light like the LD150R. You can go into the settings, and it's full RGB, gives you tons of color options. You can dial in the wheel however you need to. Another nice thing about using the Godox Light app is that whenever I'm behind the camera, I can easily access the light that's all the way on the patio with just my phone. I can dial in the exact color that I need to, or the brightness of the light. For this one, we like the early morning light, about 26 degrees or so, and I only have it on 10% brightness. That's about all we needed for this. If we go too much, then it becomes a high-key lighting scene, which is not what we want.

So we're going to stick with low-key lighting and keep it low, just so that this light doesn't spill all throughout the environment. We have a Godox 5-in-1 reflector, and this is the white diffusion panel. And we have this clamped to two Godox stands, and these come in really handy because they help soften the light even more.

To make things look even more natural within our scene, we wanted to use these sun shades that were already on location here. And so what this is going to do is add double diffusion, and it really helped soften the light even more as it spills across the interior of our environment.


From there, we added the Godox S60 focusing light. And this light's pretty cool because it has a spotlight and flood feature, which allows either how big or how small the projected light will be. On top of that, we've actually added an 85-millimeter lens projection attachment. It's spotlighting our light even more, allowing for either hard focus or soft focus. And from there, we've also added a window gobo, and what this is doing is casting a shadow of the window frame across the light.


With this light, we raised it up really high, and we angled it downward so that it would be reflecting off of the ground. What that reflection is doing is it's actually spilling onto our subject, and it's creating a really cool rim light across the far side of her face, which is really good. It's what we want.

The other thing that it's doing is if we travel back here, the gobo is actually casting a really cool shadow of the window frame all across the ground here and on this doorway here. And this doorway has these little cut-outs, which help add even more dimension in our scene, which just helps texturize everything in our background of our composition, which I think looks really cool.

The final touch that we added to the S60 is we added a blue gel, and this is to replicate moonlight. And the blue tone is actually complementing the other orange tones that we have going on in the scene. And this just helps with your overall image, and helps add even more depth and layers throughout the scene.

Now that we've placed our background lights, let's go ahead and talk about what we did for the foreground of our subject. So from here, I use the Godox Light app, and I'm able to turn on the Godox LD150RS light, and this is a panel light. And from here, we have a honeycomb grid and some barn doors. What that's doing is helping control the amount of light that's spilling onto the subject's face.

And from there, we wanted to control the spill that was falling off onto the background, so we added a black flag. What that's doing is just helping cut the light in a way that we want it to, and that way we can control the light across our scene. One thing to always keep in mind is that whenever you're lighting a subject's face, especially for low-key lighting, you want to control the amount of light actually hitting your subject's face.

If we added fill to this side, it would become high-key lighting, because you would see too much detail across the face. But we wanted to add some more mystery, so we wanted to keep this area that's closest to the camera as dark as possible. And we wanted to illuminate the area away from camera, because that's going to add dimension to our subject's face.

Because this light is a full-RGB panel light, we're able to control exactly the color tone that we wanted, and we wanted to pick just more of a daylight balance color, so that way our subject's skin tone looked really natural in the environment.

Now that we lit our subject the way that we wanted to, let's go ahead and play with some shadows in the back wall back here. So we're going to add a Godox TL60 tube light, and I can turn it on with the Godox Light app.

The way that we have it placed, it's actually helping produce some really cool shadows, which helps add texture and just an overall really cool aesthetic to our scene.

Like I said before, I really liked this little nightstand, because it had this really cool lattice pattern. We put a Godox TL30 tube light inside of the nightstand. And it's illuminating all these little holes here, which casts this really cool shadows all across the wall back here. We wanted the orange tone to match the tone that we have way back on that patio light, and it just complements everything, and it really adds some balanced to our overall scene.


Hopefully, you can use a few of these lighting techniques to help add some extra drama to any of your future projects.